


SuiteCRM 7.11 to 7.12 upgrade is essentially an important step in maintaining your CRM system with elevated features and security enhancements. This comprehensive guide maps out the entire SuiteCRM 7.11 to 7.12 upgrade journey, providing practical insights and solutions from real-world experience to help you navigate this transition confidently.
Before Upgrade: Setting the Groundwork
In any upgrade, success starts way before you run the real upgrade command. The preparation phase is where you reduce risks and prepare yourself for a smooth transition. Understanding what you need and verifying your environment against these requirements saves hours of troubleshooting later.
Understanding the System Requirements
SuiteCRM 7.12 supports a wide range of server configurations, giving you flexibility in your infrastructure choices. Linux, Unix, Mac OS, or Windows Server 2012 and above allow your server to run. The PHP version support is especially crucial here – you can use PHP 7.3, 7.4, or 8.0, to provide more flexibility than some other upgrades.
For web servers, both Apache 2.2 and 2.4 are supported, as well as IIS versions 8, 8.5, and 10. Your database options include MariaDB versions from 10.2 through 10.6, MySQL 5.7 or 8.0, and SQL Server 2012 or higher. On the client side, make sure that users are running modern browsers such as Chrome and Firefox version 90 or above, Edge 88 or higher, Safari 12 or above, and Internet Explorer 11 is still supported though without compatibility mode.
Critical Pre-Upgrade Checks

There are various important files and directories that you must verify or create, before you even consider running the upgrade. The suitecrm files such as _version.php and loadtasks.php must be rechecked and confirmed to be in good condition. For the upgrade process to properly identify your current version and execute the required tasks, these files serve a crucial purpose.
Create an upload directory in your SuiteCRM installation if you don’t already possess one. This directory is used during the upgrade process to store files temporarily. Similarly, ensure an upgradeWizard.log file exists – this log file will be useful for troubleshooting if any issues arise during the upgrade.
Create comprehensive backups for your entire system, including both your database and all files in your SuiteCRM directory. Test these backups to ensure they can be restored if needed. Document your current customizations, noting any custom modules, modified core files, or third-party integrations. This documentation will act as your guide when troubleshooting upgrade issues.
Set up a test environment that mirrors your production setup as closely as possible. The upgrade should always be tested thoroughly in this non-production environment before being performed on your live system. This is no longer optional – it's a fundamental best practice that can save you from potentially catastrophic issues.
During Upgrade: Overcoming the Obstacles
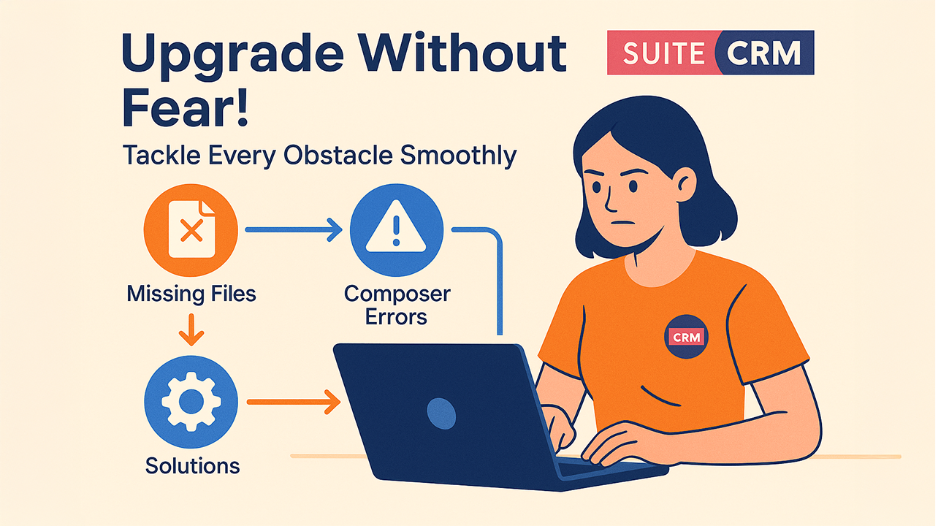
The journey from SuiteCRM 7.11 to 7.12 upgrade is about navigating many technical challenges. Each issue that you encounter has a solution, and understanding these solutions helps you move through the process smoothly.
Issue 1- Missing Robo Binary
You might immediately encounter an error stating that the robo binary cannot be found at the expected path at your first attempt to run the upgrade command. This happens because the Robo task runner, which SuiteCRM uses to orchestrate the upgrade process, is absent from your vendor/bin directory.
The solution is to obtain the robo file and upload it to the vendor/bin directory in your SuiteCRM root folder. Once the file is in place, you must make sure that it has access to proper execution permissions. Not having these permissions, even if the file exists, will make you face a "Permission denied" error when trying to execute it. To make the robo file executable, use chmod and ensure the entire vendor folder has proper permissions for your web server user.
Issue 2 - Composer Configuration Problems
A common hurdle during the SuiteCRM 7.11 to 7.12 upgrade is finding that Composer isn't properly installed or configured on your server. When you see an error about not being able to find the autoloader and being told to run composer install, it means Composer either isn't installed or isn't functioning correctly.
To sort out this issue, properly install the Composer on your system by following the installation instructions on the official Composer website. Download the installer using PHP. After verifying its integrity with the provided hash, run the setup, and then remove the installer. Move the generated composer.phar file to your system's binary directory, typically /usr/bin/composer, and make it executable.
Once Composer is installed, navigate to your SuiteCRM root directory and run composer install. This command will install all the required dependencies by reading your composer.json file. In case you encounter dependency conflicts or version issues, update your composer.json file to match the requirements for SuiteCRM 7.12. In some cases, running composer update after install helps removing lingering dependency issues.
Issue 3 - Missing Core Files
Errors about missing required files, particularly deprecated.php in your project root, will cause the upgrade process to fail. This file has compatibility code for older functionality that's being phased out but still requires to be present during the upgrade process.
Make sure the deprecated.php file remains in your SuiteCRM root directory. If it's missing, you'll need to obtain it from a clean SuiteCRM 7.11 installation or the upgrade package. The same applies to other critical files that the autoloader might complain about. Before the upgrade can proceed, ensure that each missing file is placed in its correct location.
Issue 4 - Missing Robo Task Files
A more complex issue is missing trait files that Robo depends on. You might face errors about the loadTasks trait not being found in the ElasticSearchCommands.php file or similar locations. This is due to the incomplete or corrupt Robo library installation.
Navigate to your vendor/consolidation/robo/src/Task/Base/ directory and verify that the loadTasks.php file exists. If it's found missing, obtain it from a complete Robo installation. This might mean reinstalling the consolidation/robo package through Composer or placing the missing file manually. Before attempting to upgrade again, ensure all Robo-related dependencies are completely installed before attempting the upgrade again.
Issue 5 - OAuth Provider Class Not Found
During the upgrade initialization, you might face an error about the Zend_Oauth_Provider class not being found. This class is needed by the deprecated.php file but may be absent in your installation's include directory.
The solution for this is to place the Zend_Oauth_Provider.php file in include root folder. This file contains the OAuth provider functionality that's needed during the transition period of the upgrade. Once this file is in place, the deprecated.php file can properly load it, and the upgrade can proceed from this point.
Issue 6 - Custom Module Code Conflicts
Custom code in your installation can cause upgrade failures, particularly when it tries to load external libraries or uses deprecated patterns. You might face errors relevant to CloudConvert or other third-party libraries that are being loaded improperly.
Check your custom/application/Ext/Utils/custom_utils.ext.php file and any custom module function files. Search for lines that try to load phar archives or external autoloaders. For the CloudConvert example, comment out the lines that need the phar file and use the CloudConvert API. These can be re-enabled after the upgrade using updated loading methods if you still need this functionality.
Issue 7 - PHP4-Style Constructor Errors
The most prevalent issue that you will face during the SuiteCRM 7.11 to 7.12 upgrade involves PHP4-style constructors in custom modules. These methods are named the same as their class instead of using the modern “__construct” method. PHP 7.x deprecated these constructors, and they'll be eliminated in PHP 8.x, so SuiteCRM 7.12 is helping you modernize your code.
You will come across errors about undefined methods being called, particularly stating method names that match class names. A common example is CM_cm_commissions module where both the main class and its sugar file use old-style constructors. The systematic solution requires you to look for every instance of PHP4-style constructors in your custom modules and replace them with modern “__construct” methods.
Begin with the modules mentioned in the error messages. Open the affected PHP files and find the constructor method. Replace the method named after the class with a method named “__construct”. Inside this new constructor, call “parent::__construct()” in place of “parent::ClassName()”. This pattern needs to be applied consistently across all affected modules.
The most commonly affected modules include CM_cm_commissions, AM_ProjectHolidays, outr_cti_settings_sms, rolus_Twilio_Account, rolus_Twilio_Extension_Manager, rolus_SMS_log, drip_Drip_Controller, outright_calendar_settings, outr_twilio_sms, outright_calendar_users, outr_cti_settings, outr_events_tracker, and outr_global_hide_manager. Each of these modules likely has both a main class file and a sugar file that needs updating.
Issue 8 - Version Compatibility Check
Sometimes the upgrade process is likely to fail because it is unable to verify your current SuiteCRM version or dictates that you're not on a compatible version for upgrading to 7.12. This could be due to your suitecrm_version.php file having been modified or corrupted.
Open your suitecrm_version.php file to verify that the version string accurately mirrors your current installation. You should be on version 7.11.5 or a compatible version for upgrading to 7.12. If the version string is incorrect, update it to match your actual version. However, be certain of your true version before making this change. Setting up an incorrect version can cause upgrade failures or data corruption.
Success Indicators
After successfully resolving all the issues, the upgrade process will be completed and show a message of success. You might see a minor warning about libpng and sRGB profiles, but this doesn't affect functionality. The key success message will clearly indicate that the upgrade is completed successfully and send a reminder for the post-upgrade steps that you need to take.
After Upgrade: Verify and Optimize
Finishing the SuiteCRM 7.11 to 7.12 upgrade process marks the beginning of the post-upgrade phase. Proper verification and optimization ensure your upgraded system functions correctly and efficiently.
Immediate Verification Steps
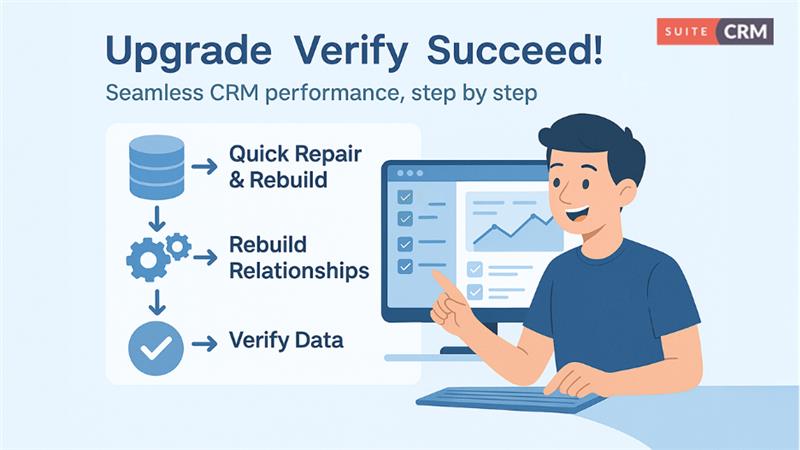
As soon as the SuiteCRM 7.11 to 7.12 upgrade completes successfully, sign into your SuiteCRM installation as an administrator. Admin panel should be your first stop. Go to the Repair section and run Quick Repair and Rebuild. This process updates your database schema to match the new version and find any inconsistencies that require attention.
After the quick repair is completed, run Rebuild Relationships from the same repair menu. This vital step ensures proper configuration of all module relationships for the new version. The upgrade process specifically mentions this because if skipped, it will become a common source of issues – particularly with Leads data not displaying accurately or errors in detail view subpanels.
Data Integrity Checks
Systematically verify the accessibility and correct display of all your data. Start with the Leads module, as it is specifically mentioned in the upgrade success message as potentially tricky. Verify that all leads are visible; subpanels display correctly on lead detail views, and proper functioning of relationships between leads and other modules.
Extend your verification to other critical modules. Test Accounts, Contacts, Opportunities, and any custom modules that are central to your business processes. Search for blank pages, missing data, or error messages in subpanels. To ensure that create and edit functionality works properly, create test records in various modules
Search and Filter Testing
Test the search functionality across various modules. Accurate results should be displayed in both basic and advanced searches. Check saved reports and searches to confirm that they still function with the upgraded database schema. Filter views should work correctly, and any custom filters should be tested thoroughly.
Integration Verification
You can now verify the functioning of third-party integrations if any used. Email integration, calendar synchronization, telephony integration, or any custom API connections should be tested. Re-enable any functionality you temporarily disabled during the upgrade, like the CloudConvert integration, and check if it works with the new version.
Performance Assessment
Observe your system's performance over the first few days after the upgrade. Look for any queries that are running slower than before, pages that take longer to load, or operations that seem less responsive. Check your server logs for any warnings or errors that might indicate underlying issues that haven't manifested as visible problems yet.
User Acceptance Testing
Have key users from different departments to test the functionality they use most. They can often identify issues that weren't apparent during your administrative testing. Create a feedback mechanism for users to report any abnormal behavior or problems they face.
Documentation Updates
To reflect on the new version, update your system documentation. Document any configuration changes you made during the upgrade, any custom code modifications required, and any new features available in version 7.12 that your users should know about. This documentation becomes beneficial for troubleshooting future issues and planning the next upgrade.
Key Lessons and Best Practices

The SuiteCRM 7.11 to 7.12 upgrade is less dramatic than some version jumps but still demands careful attention to detail and systematic problem-solving. The fundamental challenges are centered around proper Composer setup, ensuring the presence of all necessary files, and modernizing PHP4-style constructors in custom code.
The Composer installation and configuration process is foundational – many issues descend from improper Composer setup. Take the time to install it properly and verify that all dependencies are resolved before attempting the upgrade. The constructor modernization, while tedious if you have many custom modules, is straightforward once you understand the pattern. This is code technical debt that needs to be addressed, and this upgrade forces that healthy cleanup.
Always maintain your test environment as a mirror of production. The issues you encounter during a test upgrade are exactly the issues you would face in production, but without the pressure and risk. Document every problem you solve in testing – that documentation becomes your runbook for the production upgrade.
Keep your backups current and tested. Despite best efforts, sometimes upgrades encounter unexpected issues. A reliable backup and a practiced restore procedure give you the confidence to proceed. This ensures that you can always roll back if something goes seriously wrong.
Conclusion
Finally, remember that upgrading is a responsible ongoing process, not a one-time event. Each upgrade makes the next one easier by removing technical debt and keeping your installation close to the current release. Staying relatively current with SuiteCRM versions means smaller, more manageable upgrades rather than massive version jumps that require extensive testing and modification.
The post-upgrade verification phase is mandatory. Taking shortcuts here can leave you with subtle issues that only manifest later, potentially causing data problems or system instability. The time invested in thorough post-upgrade testing pays dividends in system reliability and user confidence.
If you already upgraded your SuiteCRM version successfully, the next step would be SuiteCRM 7.12 to 7.13. These simple, quick steps make it easy to configure all installation settings, maintain consistency, and foster long-term compatibility.
Related Posts: