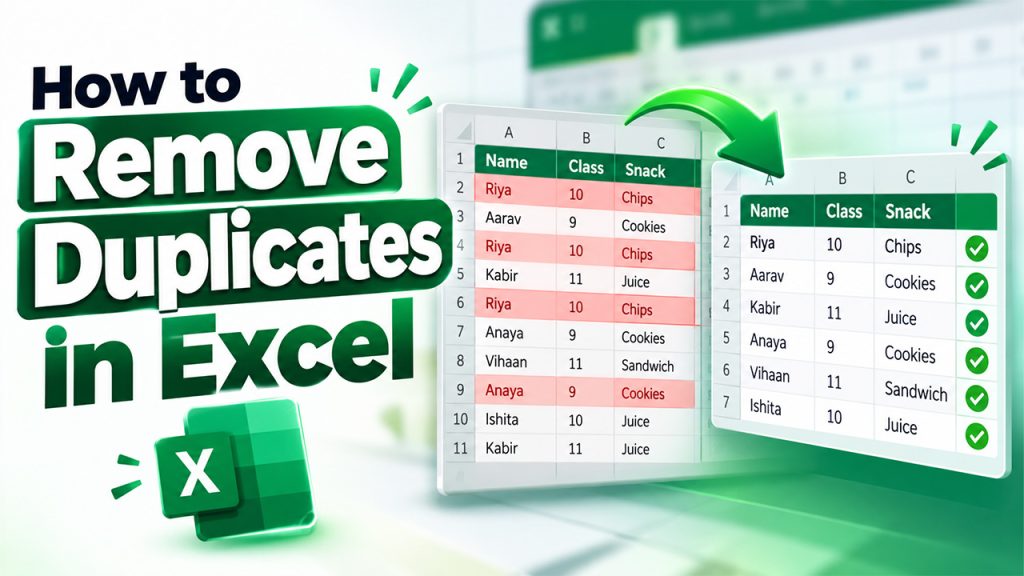






Picture a school club sign-up sheet. There are forty students and you must place one snack order. Then you notice that Riya’s name appears three times on the list. The order just tripled and nobody is happy about the bill.
This is exactly the kind of mess that grows quietly in Excel sheets. Learning how to remove duplicates in Excel takes about a minute. However, learning to do it safely takes a little longer, and that's usually the part most people skip. They delete first and wonder later. This guide flips that order. Look first, delete later. By the end of this guide, you'll know five easy methods and exactly when to use each one.
Duplicate Values vs. Duplicate Rows in Excel: What's the Difference?
Not every repeat is bad. If a column lists cities and "Delhi" appears ten times, that's normal. It's just a repeated value, and many reports depend on it. However, the real trouble is a repeated row. Because that means every cell in the row matches another row, like Riya's name, class and snack choice all showing up three times. Those rows inflate totals and confuse formulas. In a customer database, they can even mean emailing the same person twice.
So, before you remove anything, ask one simple question: is this a repeated value, or a repeated row?
Part One: How to Find Duplicate Data in Excel
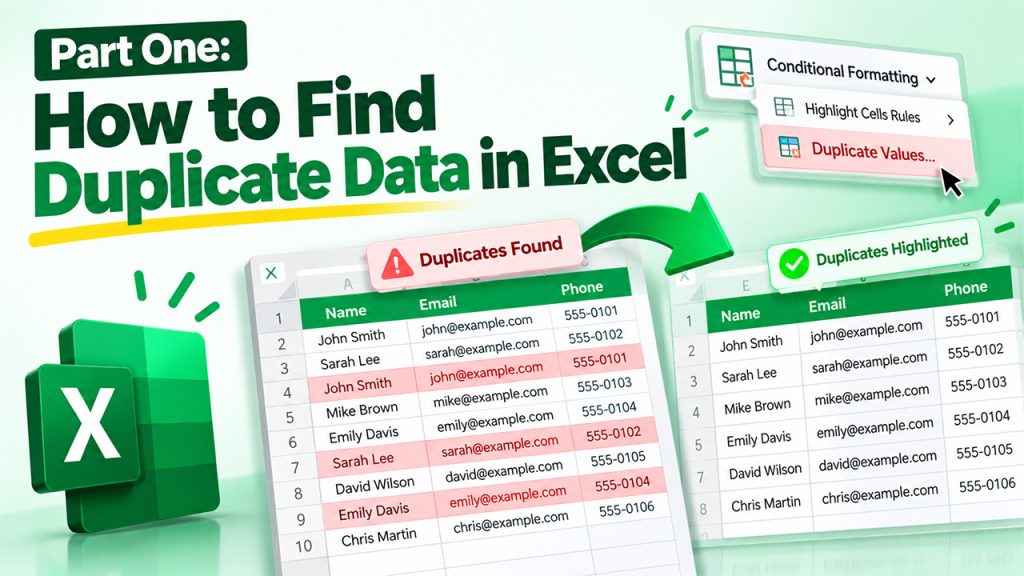
Before you delete duplicate data, it is important to find them. These two methods don’t delete a single thing.
Method 1: Conditional Formatting
This method paints your duplicates in color, making it easy for you to catch them fast.
- Select the cells you want to check.
- Click the Home tab, then Conditional Formatting.
- Choose Highlight Cells Rules, then Duplicate Values.
- Pick a color and click OK.
Every repeated entry is highlighted without anything being deleted. So, you can take your time to scroll through and decide what to keep. However, there’s a catch. This works best on a single column. For instance, if a name repeats but the phone number differs, those might be two different people. Colors fail to tell you that, so you must rely on your judgment.
Method 2: A COUNTIF Helper Column
Sometimes "duplicate" means more than one column has to match. You can handle that with a small formula. Add a new column beside your data. If names sit in column A starting at row 2, type this in the first row of the new column:
=COUNTIF($A$2:$A2,$A2)>1
Drag it down. Excel shows TRUE beside any name that already appeared higher up, and FALSE for the first appearance. To check two columns together, say name and email, use this version:
=COUNTIFS($A$2:$A2,$A2,$B$2:$B2,$B2)>1
Now filter the helper column for TRUE, and you'll see only the true repeats. Indeed, it takes longer than coloring, but you get far more control.
Part Two: How to Remove Duplicates in Excel Safely
After finding out what’s repeated, now it’s time to clean up. The next three methods will show you how to delete duplicates real quick.
Method 3: The Remove Duplicates Button
This is the fastest method and it’s also the most permanent one.
- Click any cell inside your data.
- Open the Data tab and click Remove Duplicates. The shortcut is Alt, then A, then M.
- Tick "My data has headers" if your first row holds titles.
- Choose the columns Excel should compare.
- Click OK.
Excel tells you how many rows it removed and how many are left. It always keeps the first match and views the rest as duplicates, hence deletes them. However, keep in mind that your column choice matters a lot here. If you select every column, a row goes only when every detail matches. However, if you tick just “Email,” any rows that include an email get deleted, even if other details differ.
If you want to keep the newest record instead of the oldest, sort your Excel sheet by date, newest first, before you click the button. Then “First” means “latest.”
Method 4: Using Advanced Filter
This is a more careful version for removing duplicates. It copies the unique rows somewhere else and leaves your original data untouched. Let's see how to do it:
- Click inside your data and open the Data tab.
- Click Advanced in the Sort & Filter group.
- Choose "Copy to another location."
- Click the "Copy to" box and select an empty cell.
- Tick "Unique records only" and click OK.
Now you have two lists, side by side. Compare them, trust the clean one, and keep the original one as a safety net. This method is a bit slower than the button one, but when you’re unsure about your data, it’s better to go with the slower method.
Method 5: Using the UNIQUE Function
If you use Excel 365 or a recent version, this one feels like a small bit of magic. Click an empty cell and type:
=UNIQUE(A2:C100)
Now, you will see a clean list, with every repeated row gone. It doesn’t even touch your original data, keeping it the same. And when you add or edit rows later, the clean list can update along with them.
If you see a "#SPILL!" error, don't worry. It just means something is sitting in the cells where the results want to go. Clear those cells and it'll work.
Which Excel Duplicate Removal Method Should You Use?
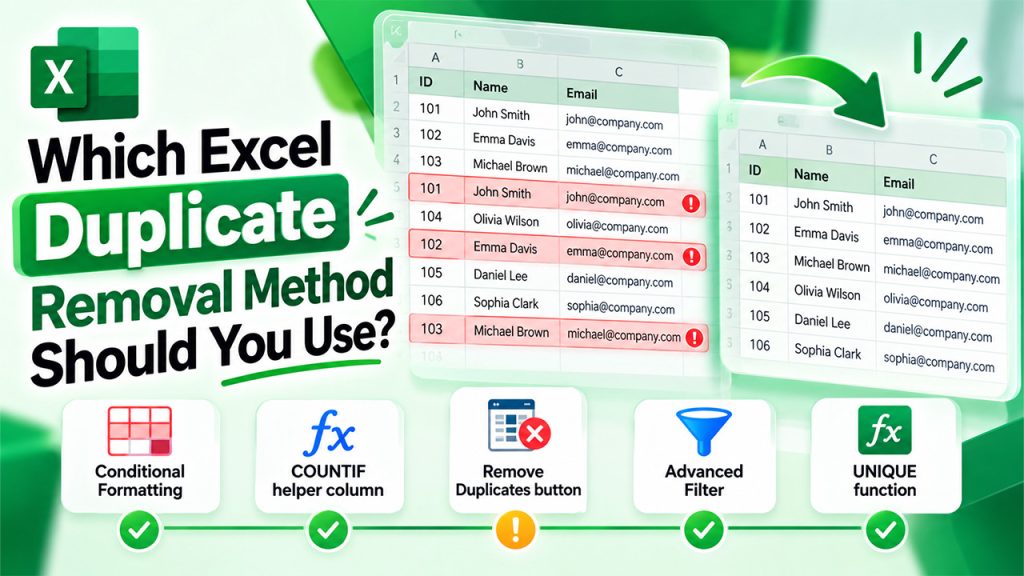
Use this quick comparison to see what each Excel method does, whether it changes your original data, and when to use it.
| Excel Method | Deletes your data? | Difficulty Level | Best Use Case |
| Conditional Formatting | No | Easy | Spotting repeats by eye |
| COUNTIF helper column | No | Medium | Checking several columns |
| Remove Duplicates button | Yes | Easy | Quick cleanup of a backed-up file |
| Advanced Filter | No | Medium | Keeping the original safe |
| UNIQUE function | No | Easy | A live, self-updating clean list |
A Simple Three-Step Process for Cleaning Duplicate Data in Excel
Here's a routine worth remembering:
- Save a copy: Duplicate the sheet or file first. Undo only works until you save and close.
- Highlight: Use Conditional Formatting to see what you're dealing with.
- Remove: Pick the method that fits, then check the result.
A few slip-ups are worth avoiding:
- Forgetting to tick "My data has headers," which can make Excel treat your title row as data.
- Missing hidden spaces. "Riya" and "Riya " (with a space at the end) look identical, but Excel sees two names. The TRIM function can clean these up first.
- Comparing too few columns, which deletes people who only share a name.
One more thing to note: Remove Duplicates slows down on very large files, often past a hundred thousand rows. When your file gets that big, Power Query, a tool already built into Excel, is the next thing to learn.
If it’s really a growing contact list, this Excel vs CRM guide shows when a spreadsheet stops being enough.
Conclusion
Now, let’s go back to the snack sheet scenario. Riya's name now appears once, the order is right, and nobody got deleted by mistake. That's the whole purpose of this guide. Knowing how to remove duplicates in Excel is pretty useful but knowing how to find them first is what protects your data. Start by making a copy, look before you delete, and pick the method that matches your comfort level. When you do that, your spreadsheets will stay tidy without stress.
Also Read: Spreadsheets vs GuestPostCRM
Frequently Asked Questions
Select your data, open the Data tab, click Remove Duplicates, choose the columns to compare, and press OK. Done.
Use Conditional Formatting. Select your cells, choose Highlight Cells Rules, then Duplicate Values, and Excel colors every repeat for you.
It keeps the first match and deletes the rest. Sort by date, newest first, to keep the latest.
Press Ctrl+Z to undo it. After you save and close the file, they’re gone, so keep a backup copy.
Hidden spaces are the usual cause. “Riya” and “Riya “ look the same, but the TRIM function cleans them up.