


YouTube TV enables you to record your favorite TV series so that you never miss a thing. Unlimited cloud DVR storage allows you to save and manage live sports events, movies, and series through your library. Users having smart TVs, including users who use Firestick and Roku, can add future episodes of their favorite series, live shows, and programs. This covers how to record on YouTube TV in detail. We will walk you through the process and everything you must know ranging from how recording operates to where they are saved and much more.
Recording on YouTube TV: How It Works?
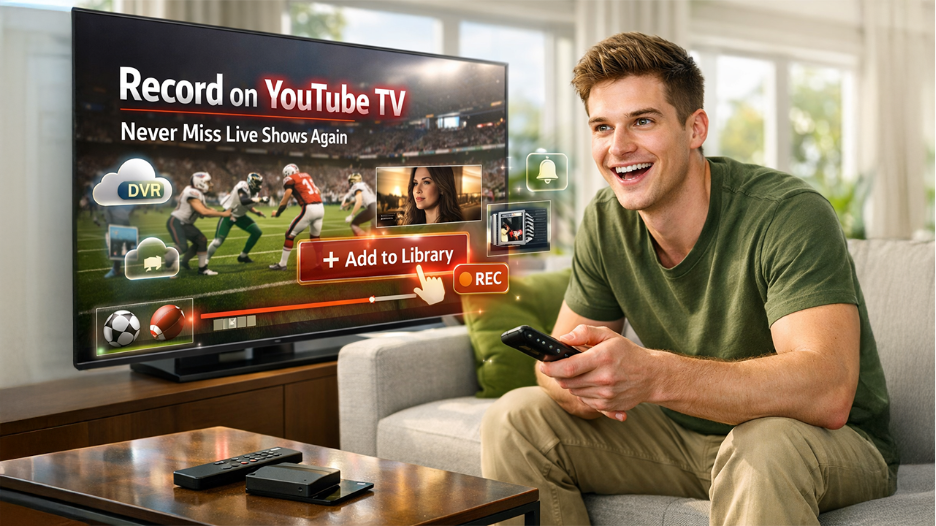
YouTube TV provides you with the ability to record and save programs, movies, shows, and sports broadcasts directly to cloud DVR. YouTube TV records the current episode automatically and all the future episodes every time you add something to your library. The recordings get stored in the library for 9 months, so you have a lot of time to watch them.
Recording on YouTube TV is easy and can be done via different methods:
- Search: Look for your show through search and select the “+” (Add to Library) button.
- Live Guide: Choose the program you want to record and select “+” button in order to record it.
- Currently Playing: While you watch the show, choose the “+” button right below the video player in order to record that episode.
The process of recording a sports show is also very similar, but you have more options there. For example, you can choose a tournament or team, and YouTube TV will automatically record all the games. Be mindful of the fact that there can be specific channels such as NFL RedZone that might need you to add a complete channel to the library instead of just adding a team.
The cloud DVR of YouTube TV is unlimited, so you will never run out of space. Most of the recorded content will most likely allow you to skip commercials. However, a few networks may still have advertisements on their on-demand versions.
Where Are You Saving the Recordings?
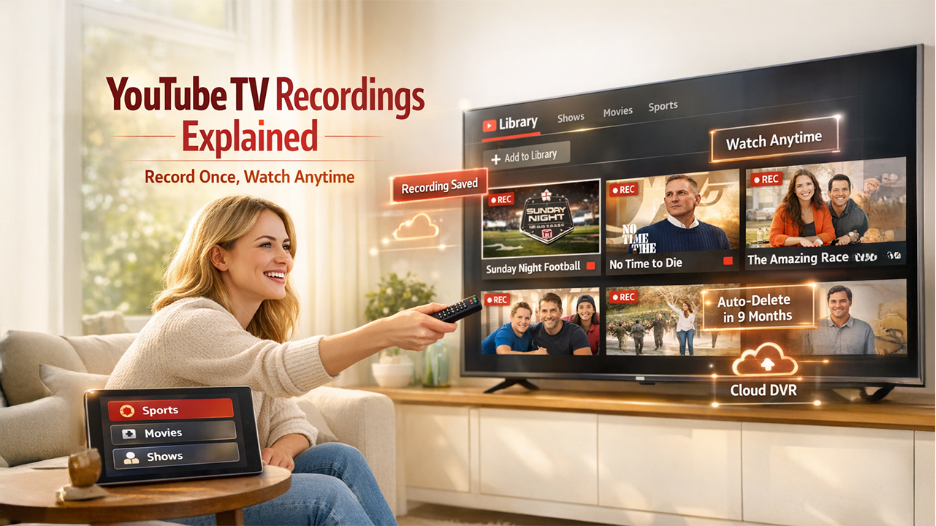
All of the recordings will be saved automatically to your library. You can easily access them from the tab “Library” utilizing any device that has a YouTube TV. Inside the library, you can simply:
- Watch Your Records
- Delete Your Recordings
- Manage Future Recordings
- Filter Recordings (by movies, shows, sports, or networks)
Recordings remain saved on your system for 9 months. After that, they expire and get removed automatically. In this way, your library remains up to date without having to manually clean it from time to time.
Can You Use Roku on YouTube TV and How?
Roku devices perfectly support YouTube TV. This provides you with complete access to cloud DVR on YouTube. Follow the below steps to record the movies or shows you want:
- Open the Roku app.
- Understand what you want to record.
- Choose the “+” button to add to your library.
- Check whether the show has been added to the library.
You can also open the library tab at any time and watch your recordings, pause the future recordings, or delete recordings. Remote navigation on Roku makes sure that browsing content and scheduling new recordings is extremely simple.
You can open the library at any time and check your recordings, pause future recordings, or delete them. Remote navigation on Roku makes scheduling new recordings and browsing content extremely simple.
How to Use Firestick with YouTube?
Firestick users can record the program in almost the same way as Roku users:
- Launch the app “YouTube TV” on the firestick.
- Choose the program you wish to record.
- Select the “+” button to record it.
- Open the library to manage and play recordings later on.
Recordings get streamed in full HD, and in majority of cases, you can skip commercials. You can also schedule future recordings via the same steps.
How to Record on YouTube TV?

YouTube TV makes recordings extremely simple. You can schedule upcoming or current shows, live events, or episodes. Let us see the exact steps you need to take in order to anything you want-
Step 1: Launch the YouTube TV App:
First, you need to launch the YouTube TV app on your device. This can be a streaming stick, a TV, or your phone.
Step 2: Find the Program or Show to Record:
Search for it by name, go through the Live Guide, or add a show while you watch it live.
Step 3: Add It to Your Library:
Select “+” to record the program and automatically include all future episodes.
Step 4: Confirm the Settings:
You can choose to record a new episode or select the new ones. You can save the recordings in your library for up to 9 months.
Step 5: Handle Your Scheduled Recordings:
Visit the library at any time to check upcoming records. You can cancel or delete anything you do not want to record.
Tip: For sports, you can add a league or team to your library, and YouTube TV will capture every game automatically for you.
How to Record a Live Show?
You can choose to record live TV, so you never miss a moment even if you cannot watch it in real time:
Method 1: From “Live Guide”:
Start the live guide, highlight the event or show, and then click “+”. The recording immediately begins.
Method 2: While Watching Live:
If you are watching already and then you decide to record, you can select the “+” below the player. YouTube TV can then record rest of the content while you keep rewinding, watching, or pausing as you like:
Tips for Live Recordings:
- The recording immediately begins from the moment you select “Add to Library.”
- You can record a single episode or set up YouTube TV to automatically record future episodes.
- Live sports work in a similar way. When you add your team, you can save every game until you pause or cancel.
YouTube TV marks finished episode automatically for you and enables you to sort by date, name, or type.
Note: Recordings can be streamed only through app. Contrary to YouTube Shorts, they cannot be downloaded to watch offline.
When you cancel YouTube TV, your recordings get deleted after every 21 days.
How to Schedule Future Recordings?
Do you want to record a show that has not aired yet?
- You can simply search for the title and then click on the “+” to Add to Library.
- YouTube TV will record new and upcoming episodes automatically.
- You can find scheduled recordings in your library anytime.
Remember:
- Recordings remain unavailable for up to nine months.
- There is unlimited storage, so there is no need to delete old content to make space.
- If you turn on the notifications, you will get a reminder about when the recording starts.
How to Cancel or Delete Recordings?
Sometimes you might want to delete recordings to make your library clean or cancel a recording to stop recording a series:
Let us see how you can cancel a recording:
- Proceed to your library.
- Find the event or show you don’t want anymore.
- Choose the “Added” icon or checkmark to remove it.
Cancelling does not stop future recordings but does not delete the present ones.
To delete recordings, you must:
- Open the library and choose the program.
- Choose the menu (three-dots) next to it.
- Select the option “Delete Recording” and confirm.
Deleting is a permanent option, but it will not affect recordings scheduled in future.
Tip: Although you will not run out of space, you can remove watched shows regularly to ensure that your library remains tidy.
Conclusion
Recording on YouTube TV is simple irrespective of whether you utilize Roku, smart TV, or Firestick. With unlimited favorite shows, cloud DVR storage, and sports broadcasts are automatically saved for up to nine months, giving you a lot of time to watch it at your own pace. Including content to your library takes more than just one tap and handling your recordings is extremely simple. You can set up automatic recordings or record a single episode for every future episode of a series. Live sports fans can include complete leagues or teams in every game without ever missing a play. Ranging from scheduling upcoming episodes to deleting content that you have watched already, YouTube TV gives you complete control, making sure that you do not miss what is important to you.
Also Read
How to Convert YouTube to MP3 Legally