


Installing SuiteCRM 8 on your local XAMPP server is one of the most efficient ways to test and develop with this powerful open-source CRM solution. Whether you're a developer looking to customize SuiteCRM or a business owner wanting to evaluate its features, this comprehensive guide will walk you through the entire installation process from start to finish.
▶️ Watch Now-How to Install SuiteCRM 8 on Windows | Step-by-Step XAMPP Guide
What You'll Need
Before we begin, make sure you have:
- XAMPP installed and running on your computer
- A stable internet connection to download SuiteCRM 8
- Basic knowledge of file management
- Access to phpMyAdmin (included with XAMPP)
Step 1: Download SuiteCRM 8
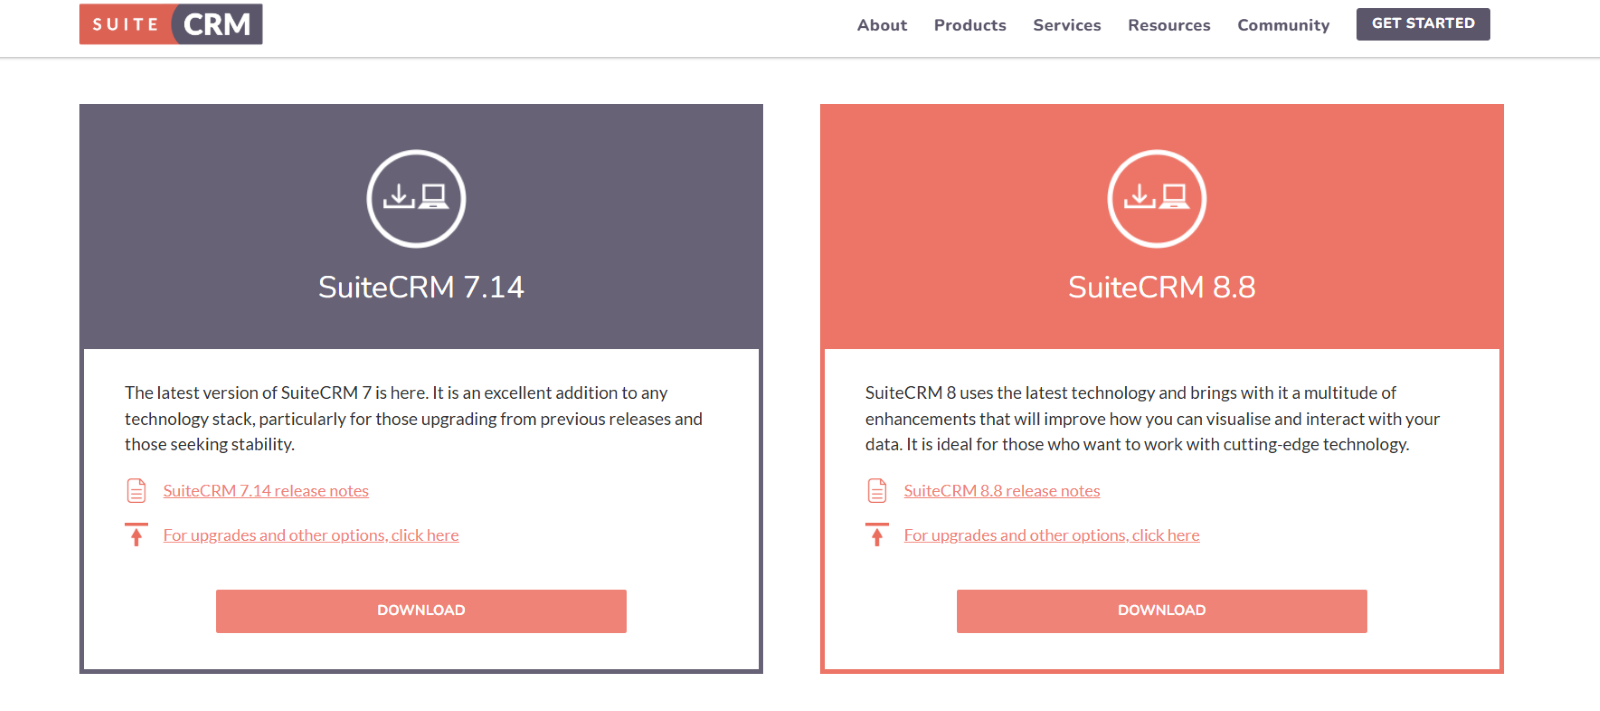
The first step is obtaining the latest version of SuiteCRM 8 from the official source.
- Navigate to the official SuiteCRM website at https://suitecrm.com.
- Click on the "Download" button prominently displayed on the homepage.
- Select the latest version of SuiteCRM 8 from the available options.
- The download will begin automatically, providing you with a ZIP file containing all necessary installation files.
Step 2: Prepare Your XAMPP Environment
Now that you have the SuiteCRM files, it's time to set up your local development environment.
Locate Your XAMPP Directory
Find your XAMPP installation directory on your computer. This is typically located at:
- Windows: C:\xampp\
- macOS: /Applications/XAMPP/
- Linux: /opt/lampp/
Access the htdocs Folder
- Open your XAMPP installation directory.
- Navigate to the htdocs folder - this is where all your web applications will be stored.
- Move your downloaded SuiteCRM ZIP file into this htdocs folder.
Extract and Rename
- Extract the ZIP file directly inside the htdocs folder.
- You'll see a new folder with a name like SuiteCRM-8.x.x.
- Rename this folder to something simpler and more memorable, such as suitecrm or crm.
Pro Tip: Choose a short, descriptive name as this will become part of your local URL.
Step 3: Create Your Database
Before launching the SuiteCRM installation wizard, you need to prepare a database.
- Open your web browser and go to http://localhost/phpmyadmin.
- Click on "Databases" in the top navigation.
- Create a new database with a descriptive name like suitecrm8.
- Set the collation to utf8_general_ci for optimal compatibility.
- Click "Create" to finalize your database setup.
Step 4: Launch the SuiteCRM Installation Wizard
With your files in place and database ready, it's time to begin the actual installation.
- Open your web browser.
- Navigate to http://localhost/crm/public (replace "crm" with whatever you named your folder).

Important: Always include /public at the end of the URL - this is crucial for proper SuiteCRM functionality.
You should now see the SuiteCRM Setup Wizard welcome screen.
Step 5: Configure Your Installation

The setup wizard will guide you through several configuration steps:
SuiteCRM Instance Configuration
In the "URL of SuiteCRM Instance" field, enter:
http://localhost/crm/public (using your chosen folder name).
Database Configuration
Fill out the database connection details:
- Database User: root (default XAMPP setting)
- Database Password: Leave blank unless you've set a custom root password
- Host Name: localhost
- Database Name: suitecrm8 (or whatever you named your database)
- Port: 3306 (default MySQL port)
Site Configuration
Set up your administrative access:
- Admin Username: Choose a secure username (default is admin).
- Admin Password: Create a strong, memorable password.
- Demo Data: Decide whether to populate your CRM with sample data for testing.
Optional: Demo Data
The setup wizard offers to populate your database with demo data. This is particularly useful if you're:
- Learning how to use SuiteCRM.
- Testing features and functionality.
- Demonstrating the system to stakeholders.
Step 6: Complete the Installation
- Review all your configuration settings carefully.
- Click "Proceed" to begin the installation process.
- The installation may take several minutes depending on your system performance.
- Do not close your browser or navigate away during this process.
Step 7: First Login and Verification
Once installation completes successfully:
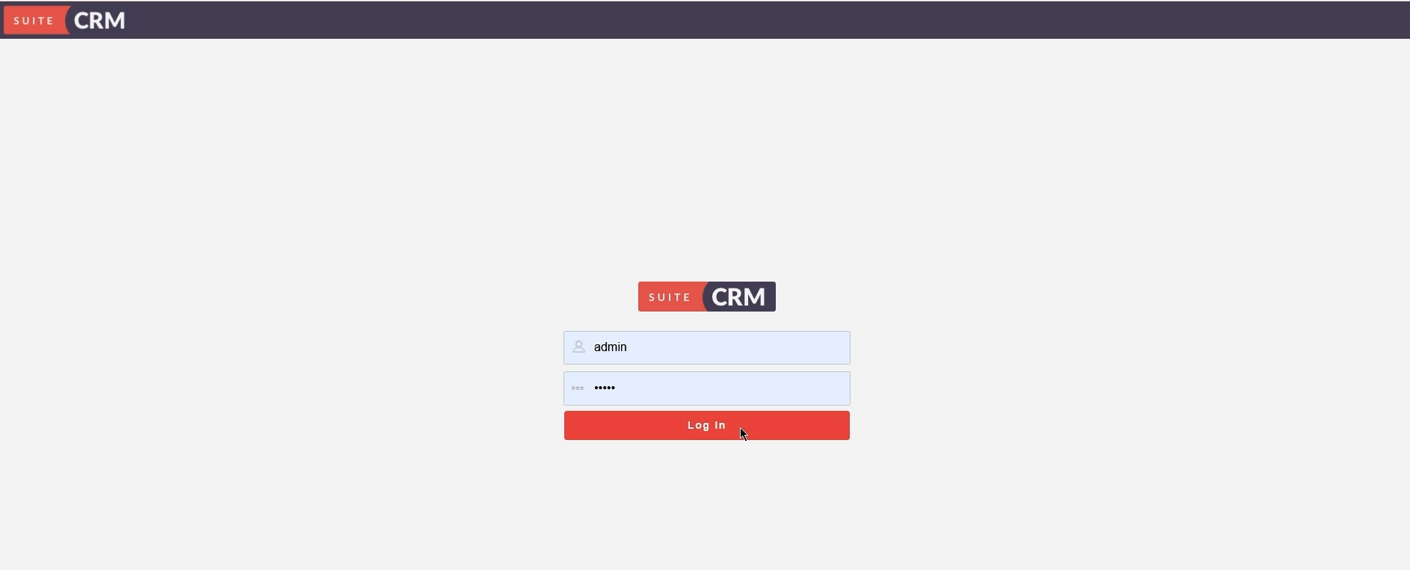
- You'll automatically be redirected to the SuiteCRM login page.
- Enter the admin username and password you configured during setup.
- Click "Log In" to access your new CRM system.
Verify Your Installation
To confirm everything is working correctly:
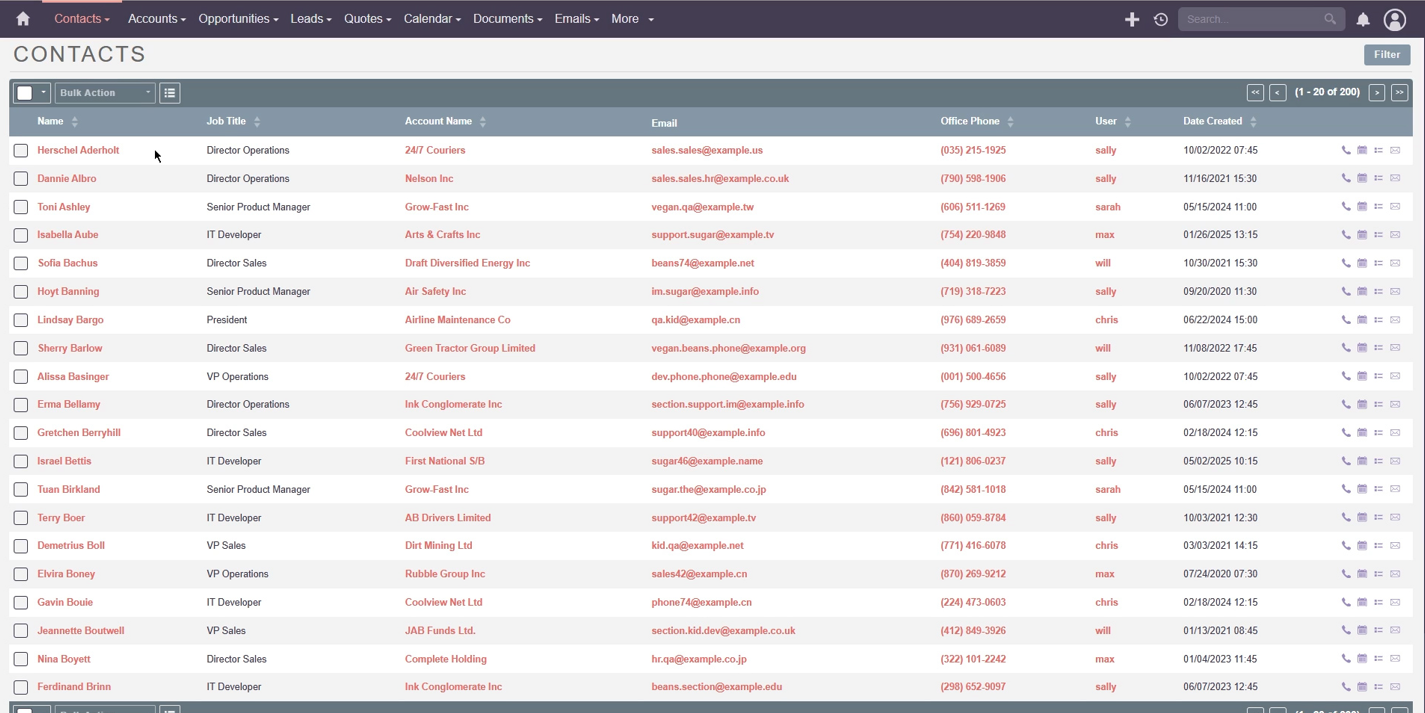
- Navigate to the "Contacts" module from the top navigation bar.
- If you chose to install demo data, you'll see a list of sample contacts.
- Explore other modules like "Accounts," "Opportunities," and "Leads."
Troubleshooting Common Issues
Cannot Access the Installation URL
- Ensure XAMPP Apache server is running.
- Verify your folder name matches the URL.
- Check that you're including /public in the URL.
Database Connection Errors
- Confirm your database exists in phpMyAdmin.
- Verify XAMPP MySQL service is running.
- Double-check database name spelling and credentials.
Installation Hangs or Times Out
- Increase PHP memory limit in your XAMPP PHP configuration.
- Ensure no antivirus software is blocking the installation.
- Try using a different web browser.
Next Steps: Customizing Your SuiteCRM
Now that SuiteCRM 8 is successfully installed, you can begin customizing it to meet your specific needs:
Basic Configuration
- Set up your company information and branding.
- Configure email settings for automated communications.
- Create custom fields for your specific business requirements.
- Set up user roles and permissions.
Advanced Customization
- Install additional modules from the SuiteCRM marketplace.
- Create custom workflows and business processes.
- Integrate with third-party applications.
- Develop custom themes and layouts.
Security Considerations for Local Development
While this installation is for local development, it's important to maintain good security practices:
- Use strong passwords for admin accounts.
- Regularly update SuiteCRM to the latest version.
- If you plan to make this installation accessible from other networks, implement proper security measures.
- Keep your XAMPP installation updated.
Conclusion
Installing SuiteCRM 8 on XAMPP provides an excellent foundation for CRM development and testing. This local setup allows you to experiment with features, customize functionality, and train users without affecting production systems.
The process, while involving several steps, is straightforward when followed methodically. Remember that this local installation serves as your sandbox environment where you can safely test configurations, import data, and develop customizations before implementing them in a live environment.
Whether you're evaluating SuiteCRM for your organization or developing custom solutions, this local installation gives you the flexibility and control needed for effective CRM development.
Related Posts: