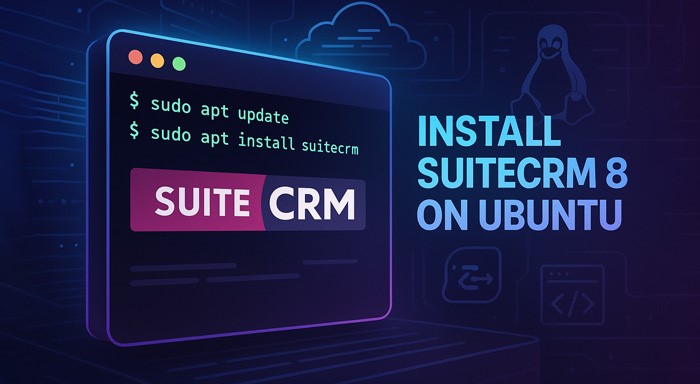


SuiteCRM is a powerful open-source CRM solution that can help businesses manage their customer relationships effectively. This guide will walk you through the complete process of install SuiteCRM 8 on Ubuntu Linux server using WinSCP and the terminal. Follow these steps to get started.
Prerequisites
- An Ubuntu Linux server
- WinSCP installed on your local machine
- Terminal access to the server
- Apache, PHP, and MySQL installed on the server
Install SuiteCRM 8 on Ubuntu: Step-by-Step Tutorial
Step 1: Open WinSCP and Navigate to the Directory
- Launch WinSCP and connect to your Ubuntu server using your IP address, username, and password.
- Navigate to the directory where you want to install SuiteCRM. For most installations, this will be /var/www/html.
Open the terminal in WinSCP or any other terminal application and run the following command to switch to the root user:
Navigate to the installation directory using the cd command:
cd /var/www/html Step 2: Download SuiteCRM
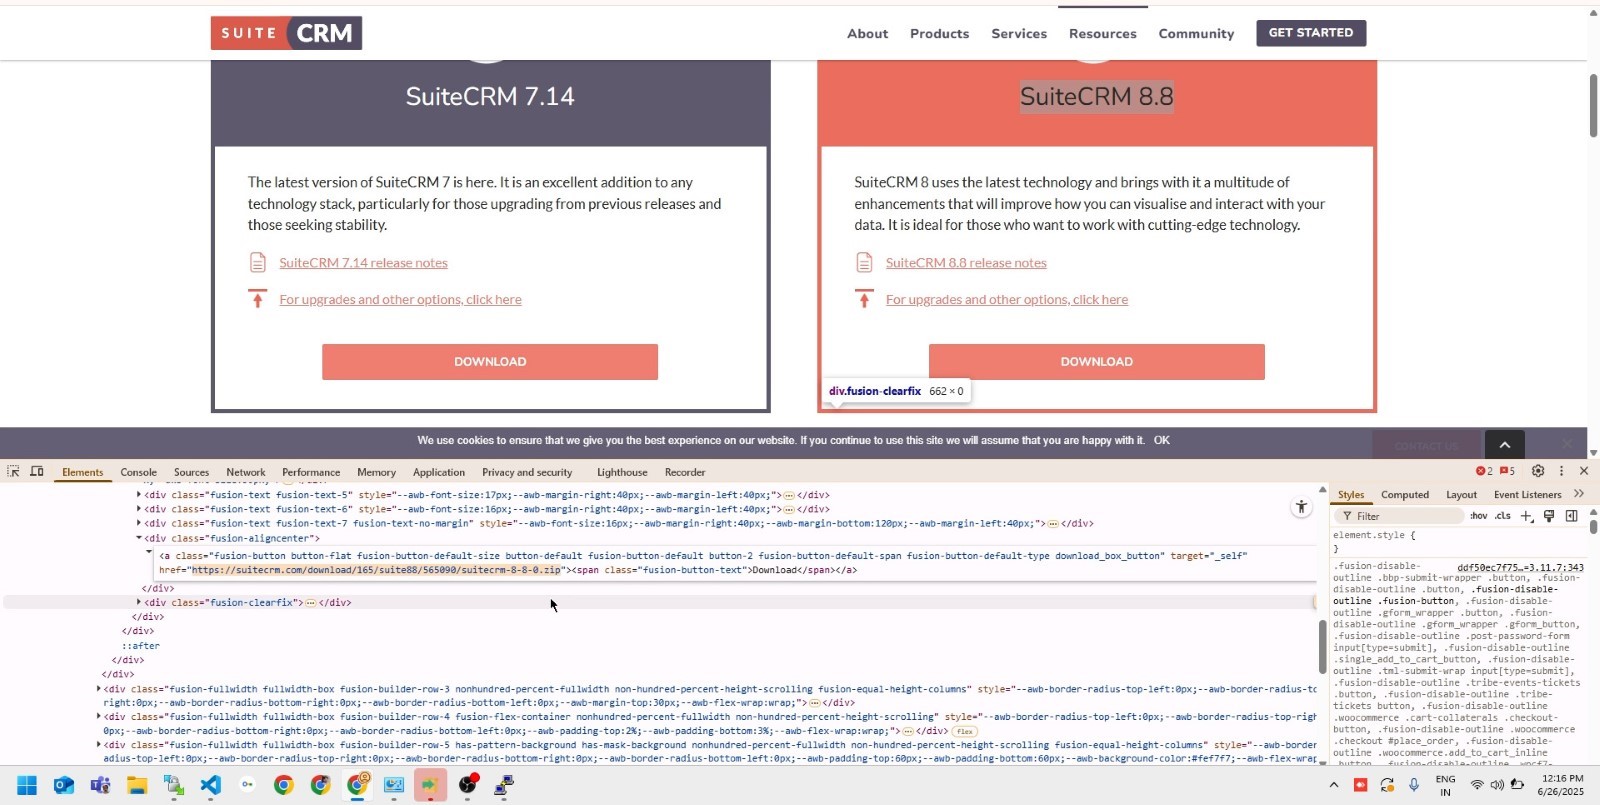
- Visit the official SuiteCRM download page.
- Right-click on the Download button, select Inspect, and copy the direct download link.
- Switch back to the terminal and use the wget command to download SuiteCRM:
wget [download-link-URL]
Step 3: Unzip the SuiteCRM Package
Once the download is complete:
- Refresh the directory in WinSCP. You should see the SuiteCRM ZIP file.
- Extract the ZIP file using the following command in the terminal:
unzip SuiteCRM-8.x.x.zip
Step 4: Configure Apache to Serve SuiteCRM

1. Open the Apache configuration file using the terminal:
sudo nano /etc/apache2/sites-available/000-default.conf 2. Modify the DocumentRoot to point to the public directory of SuiteCRM:
DocumentRoot /var/www/html/SuiteCRM/public 3. Save the changes by pressing CTRL + O, then exit with CTRL + X.
4. Restart Apache to apply the changes:
sudo systemctl restart apache2
Step 5: Fix Permissions
To ensure SuiteCRM runs smoothly, set the appropriate permissions:
sudo chown -R www-data:www-data SuiteCRM
sudo chmod -R 777 SuiteCRM
Step 6: Verify System Checks
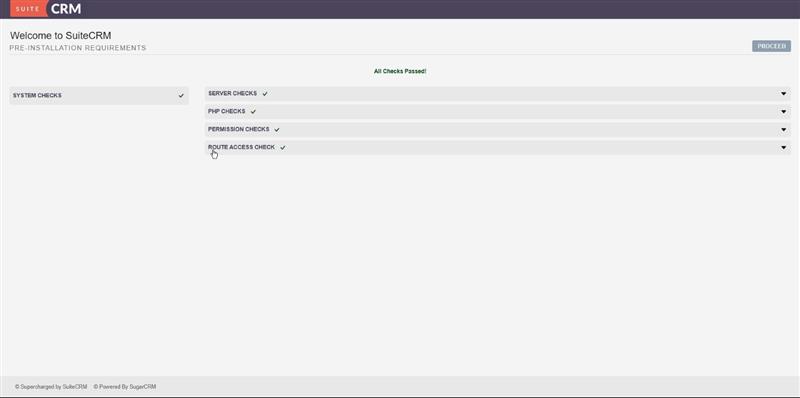
- Open your browser and navigate to your SuiteCRM instance (e.g., http://yourdomain.com/public).
- Ensure all system checks, such as Server Checks, PHP Checks, and Permission Checks, are marked as passed.
- Once verified, click the 'Proceed' button.
Step 7: Configure SuiteCRM
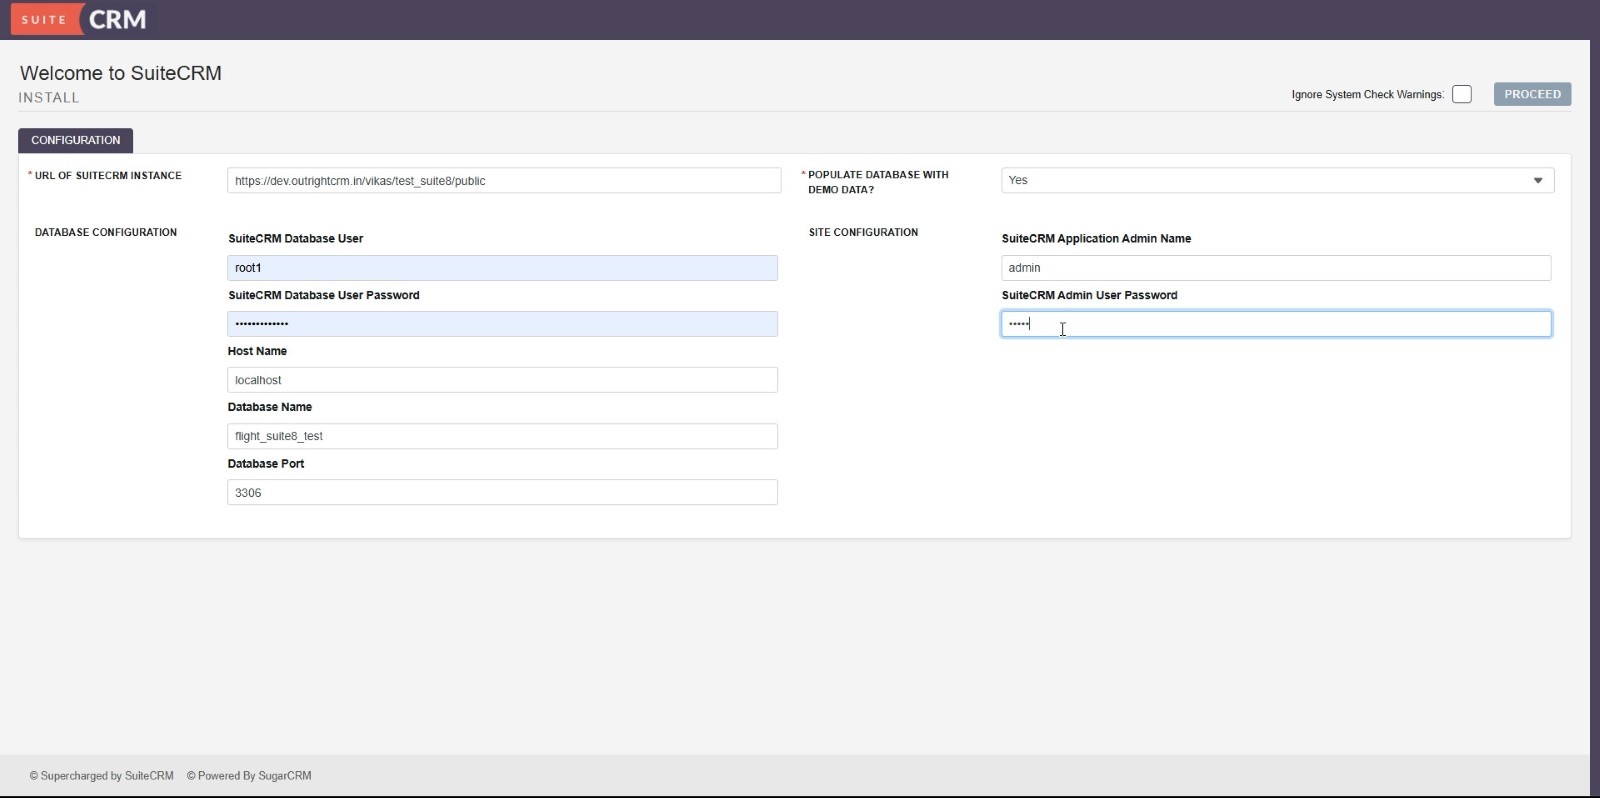
On the configuration page, fill in the following details:
- URL of SuiteCRM Instance: Enter the URL where SuiteCRM is hosted (e.g.,
https://yourdomain.com/public).
- Database Configuration:
- Database User
- Database User Password
- Host Name (localhost)
- Database Name
- Database Port (3306 by default)
- Populate Database with Demo Data: Select Yes if you want sample data.
- Site Configuration:
- Admin Name
- Admin Password (create a strong password)
Click 'Proceed' to complete the setup.
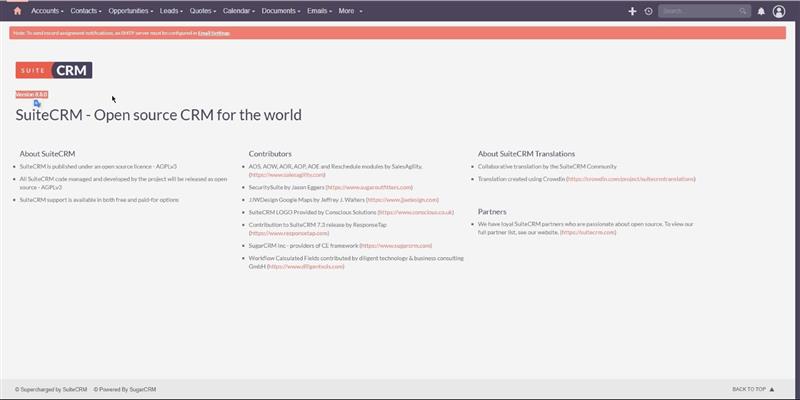
Step 8: Explore SuiteCRM
- Log in to SuiteCRM using the admin credentials you just created.
- Navigate to the About section to verify the installation.
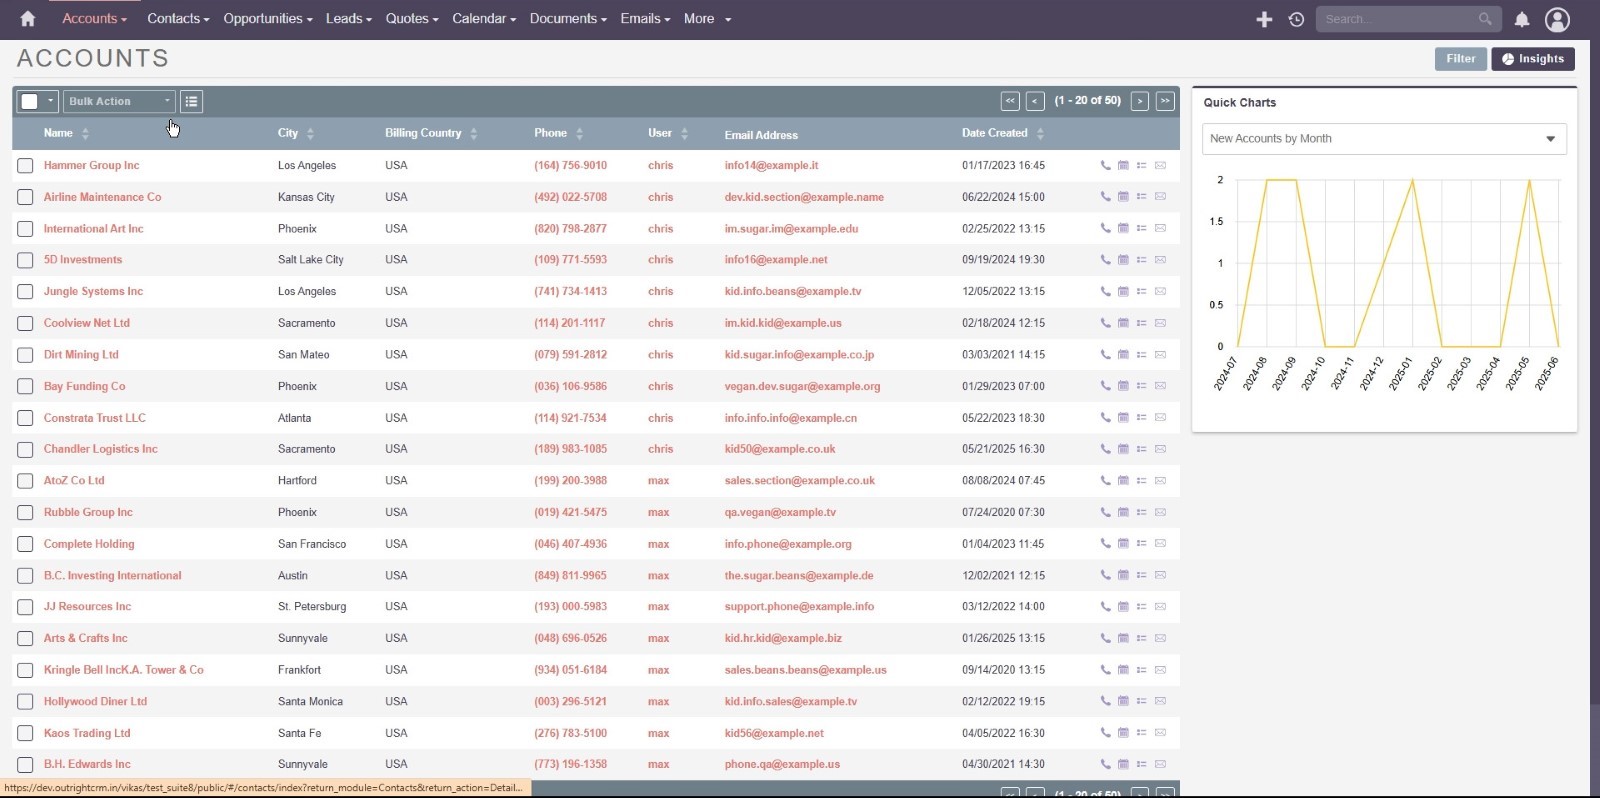
3. Explore the demo data by visiting the Accounts and Contacts sections.
4. Review the User Management section to check user settings.
Conclusion
Congratulations! You have successfully installed SuiteCRM 8 on your Ubuntu Linux server. You’re now ready to start managing your customer relationships effectively.
If you found this guide helpful, don’t forget to share it with others. For more tutorials and tips, subscribe to our channel or blog. Have questions? Drop them in the comments below. Thank you for reading!