


In the fast-paced landscape of the digital market, the overall quality of email campaigns hinges on your ability to reach your customers and leads reliably. Reaching out to a vast customer base or sending hundreds or thousands of emails often leads to SPAM issues, low deliverability, and daily sending limit problems. With the SuiteCRM Multi Sender Bulk Campaign Manager, marketing teams can efficiently manage large-scale campaigns while ensuring that emails successfully reach the audience’s inbox.
Understanding Suite CRM’s Campaign Module
The campaign module of SuiteCRM enables businesses to create, handle, and monitor campaigns within the CRM directly. Users can smoothly design email templates, handle target lists, and track campaign performance. While this module is quite effective for small-level campaigns, it poses a few limitations when managing high-volume emails — including SPAM risks, deliverability issues, and daily sender limits.
Understanding Key Challenges in SuiteCRM Campaign Module
The native campaign module of SuiteCRM enables users to create and send emails. However, it also introduces a few limitations to the businesses as mentioned in the following points:
- Single Sender Restriction: Through the core functionality, campaigns are delivered from a single email account, which can trigger SPAM filters for high-volume campaigns.
- Daily Sending Limits: Numerous email providers execute daily limitations to the overall number of emails that you can send from one account. The number varies from one email account to another and whether you are using a paid or free account. Generally, the number varies between 500-5000.
- Duplicate Sends & Errors: In the absence of an effective suppression system, recipients can get duplicate emails, which can impact the engagement or reputation of the brand.
Such issues can make management of large campaigns quite difficult, time-consuming, and even ineffective.
Introducing SuiteCRM Multi Sender Bulk Campaign Manager
The SuiteCRM Multi Sender Bulk Campaign Manager specializes in overcoming such limitations by allowing automated email distribution across different senders. This tool improves campaign performance, minimizes SPAM risks, and enables businesses to run large-scale campaigns successfully and with ease.
Utilizing this extension, marketing teams can concentrate on strategy while the extension takes care of suppression, simplifies sender rotation, and optimizes deliverability.
Key Features of SuiteCRM Multi Sender Bulk Campaign Manager
1. Multiple Sender Activation
Easily configure more than one sender (S1, S2, S3...) in any order for a single campaign. The tool lets you rotate the emails with just a few clicks.
2. Support for Multiple Domain
It provides support to numerous email providers, including Outlook, Gmail, and Twilio SendGrid, allowing campaigns to utilize multiple domains to achieve higher deliverability.
3. Suppression Lists
Prevent sending duplicate emails to the same domain, contact, or target list. Suppression lists make sure recipients only receive valuable communications without spamming.
4. Target List Management
Create and manage separate target lists for exclusion, sending, or suppression. This enables marketers to effectively segment campaigns and customize communication.
5. Chronological Sender Rotation
Determine the overall order in which you are using senders. This ascertains optimal deliverability, balanced email distribution, and minimized risk of triggering SPAM filters.
How to Create Campaign with SuiteCRM Multi Sender Bulk Campaign Manager
The process of creating campaigns becomes extremely simple and effective with this tool. Just follow the steps below:
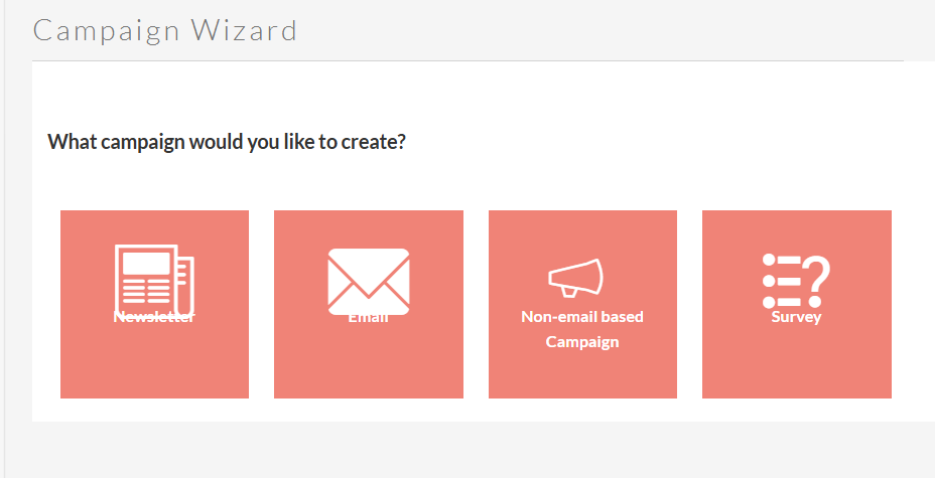
- Choose a campaign: Select a campaign among newsletters, non-email, email, or survey, etc. (Note: The following explains campaign creation for email type).
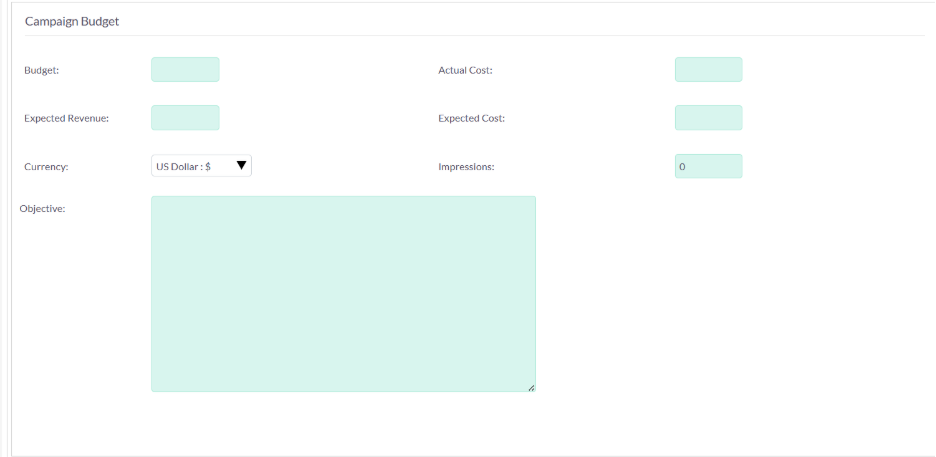
- Provide Details for Campaign Header and Campaign Budget: Enter your details such as Name, Assigned to, Status, and Description. Fill in the Campaign Budget section as well with budget, actual cost, expected revenue, expected cost, currency, impressions, objective, etc.

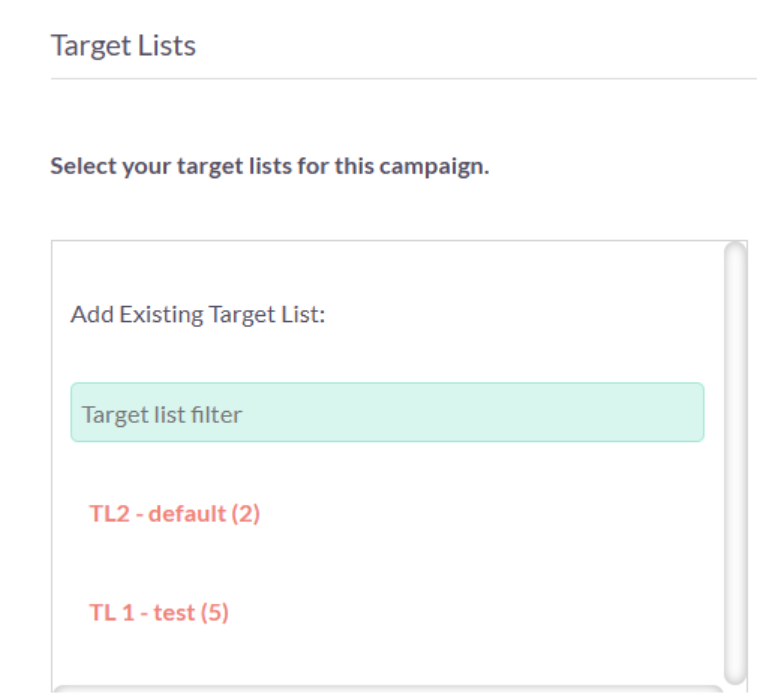
- Select Target List: In the next screen, you will be asked to choose your target list. Choose it carefully.
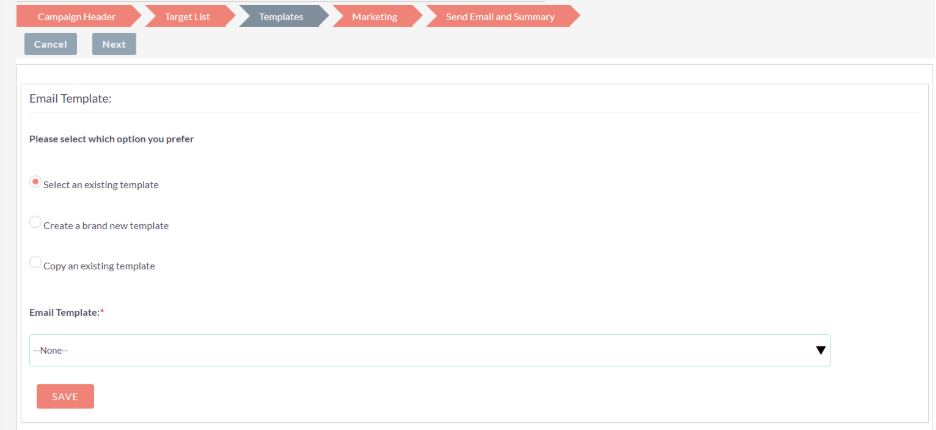
4. Select Your Email Template: You can choose the email templates option; you can choose an existing template, a fresh template, or copy an existing template. You can also find any of the email template options from the drop-down menu.
- Fill the Marketing Section: In the next screen, you need to fill out the details such as Marketing Email Name, Bounce Handling Account, and data and time of your campaign.
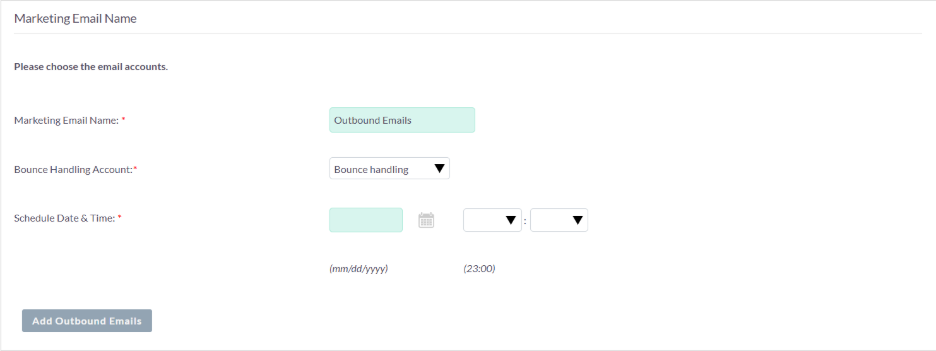
- Add Outbound Emails: Click on the “Add Outbound Emails” option. Here, you can select the senders you want to activate for these campaigns. The order in which you select the senders will define their overall order in the campaign. Click on “Save Selection” to save your senders and their order (see figure I). Once you have selected and saved your orders, all the senders will show up right below the “Add Outbound Emails” section in the order that you have selected.
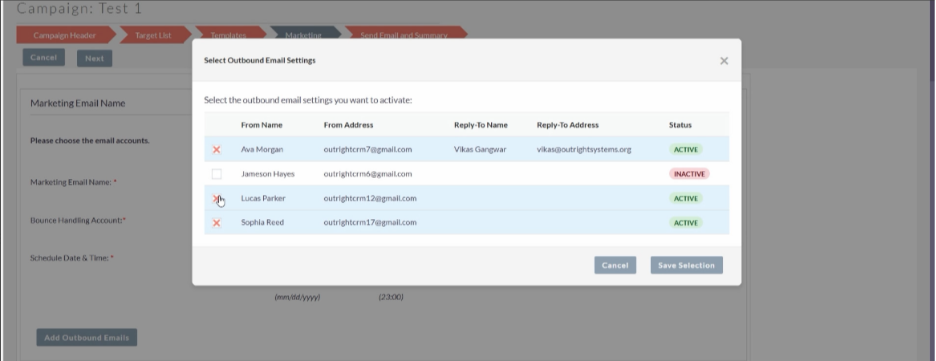
Figure I: Adding Outbound Emails for Campaign

Figure II: All the outbound emails are displayed in the selected order.
- Check out the Summary of the Campaign: This is the last screen where you can see the complete summary of your campaign. Keep in mind that you will only be allowed to proceed with the campaign once all the parameters are ticked.
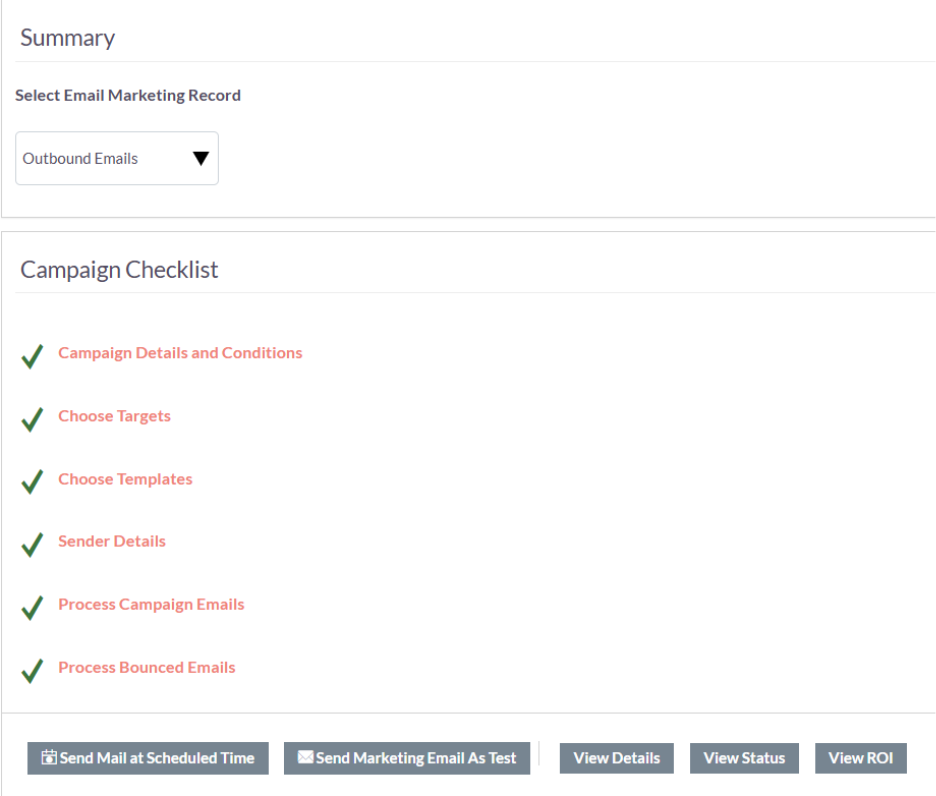
- View Details, View Status, and View ROI: We choose “Send Mail at Scheduled Time” for “Default and Seed Type” target lists and “Send Marketing Email As Test” for “Test Type Target List.”

- In View Details, you can get a complete overview of your campaign including name, start data, end date, status, type, description, assigned to, etc. (see figure 1). You can check the history, target list, tracker URLs, email templates, and security groups from the bottom of the screen (see figure 2). Click on “+” button to open details. There is also a budget section where you can see all the budget details (see figure 3). In “Other”, you can check the date on which the campaign was created and the date on which the campaign was modified.
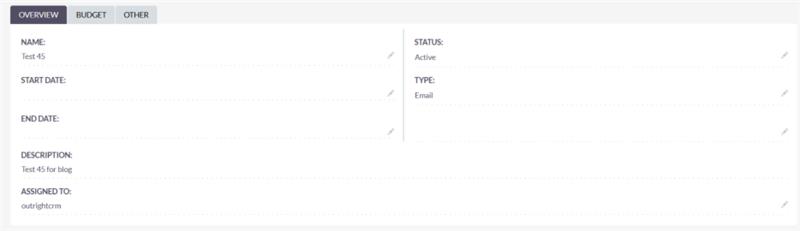
Figure 1: Campaign Overview
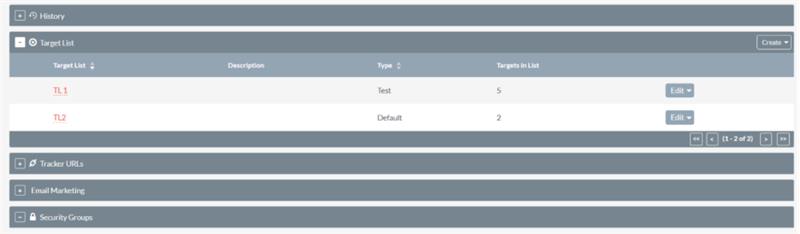
Figure 2: History, Target List, Tracker URLs, Email Marketing, and Security Groups.
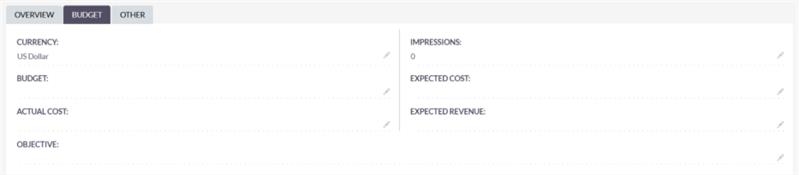
Figure 3: Budget Details
- View Status: In View Status, you can check the “Campaign Response by Recipient Activity,” seeing details such as Click-Thru Link, Bounced Messages, Opted Out, Suppressed by Address or Domain, Viewed Message, etc., in the form of a graph (see figure 4). Scrolling down, you will also find various KPIs. Click on the “+” sign to gain knowledge about each KPI (see figure 5).
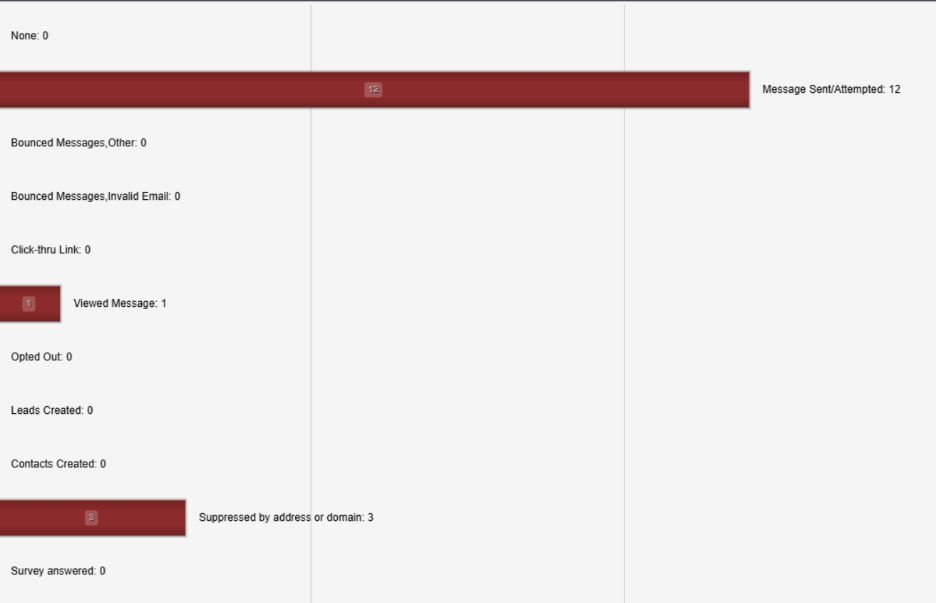
Figure 4: Graph in View Status
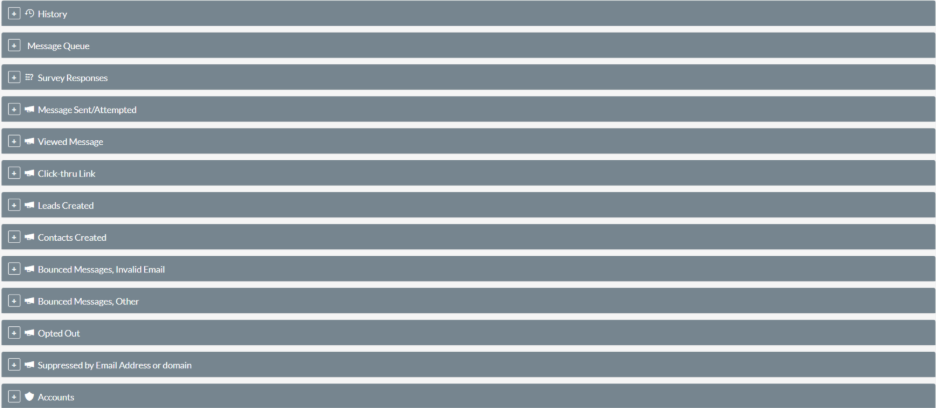
Figure 5: KPIs in View Status
- View ROI: Clicking on “View ROI” will take you to a page where you will get a cost report on your campaign. You can see details such as Impressions, Opportunities Won, Cost Per Impression, Cost Per Click Through, Budget, Expected Cost, Actual Cost, and Expected Revenue (see figure 6).

Figure 6: View ROI
This automation empowers marketing teams around the world to handle campaigns and reach out to thousands of contacts with ease, saving resources and time.
Real-life Example
Emma is a marketing manager at a tech-based company in the United States managing a database with 40,000 contacts. Earlier, she used to send campaigns with SuiteCRM’s core functionality, ending up in the SPAM folder or consistently hitting the sending limits on a daily basis. By executing SuiteCRM Multi Sender Campaign Manager, Emma:
- Easily distributed contacts across 5 email senders.
- Effectively schedule campaigns and ensure that the emails reach the recipient’s inbox.
- Implemented suppression lists to avoid duplicates and maintain brand reputation.
What is the overall result? Emma’s overall campaign now reaches the inbox more reliably; engagement rates improve dramatically, and the team saves hours by fixing delivery problems.
Advantages of Using Multi Sender Campaign Manager
- Higher Deliverability: Multiple senders and domain support make sure that the emails end up in the inboxes of the recipients.
- Time-saving: Automation minimizes manual effort in handling campaigns.
- Avoid SPAM: Suppression and rotation aid in preventing emails from being flagged as SPAM.
- Large-Scale Campaigns: Handle campaigns with great ease even if your contact list scales up to tens of thousands.
Right Practices for Best Efficiency
- Determine an optimal sender rotation to evenly distribute load.
- Carefully use suppression lists to avoid repeated senders.
- Track different metrics related to your email deliverability to further improve your campaigns.
- Strategically schedule campaigns to enhance engagement.
Conclusion
The SuiteCRM Multi Sender Campaign Manager is an innovative SuiteCRM extension for businesses launching large-scale email campaigns. By managing suppression lists, automating sender rotation, and supporting different domains, it makes sure that there is better engagement, higher rates of delivery, and considerable time savings for marketing departments.
Enhance the performance of your campaigns and streamline email management today by adopting the SuiteCRM Multi Sender Bulk Campaign Manager from the OutRight Store.