


Twilio Studio subflow is a great effective tool to turn all the complex flows into small ones for easy understanding. A large flow can create confusion or take time to understand. So, subflows link them together to make them smaller and unchallenging. With the introduction of this:
- No need to copy/paste widgets in various places.
- Ready to work with the Flows API.
Let’s learn now how to create a studio subflow for sending SMS OTP for phone verification and user authentication purposes.
Things you need before creating subflows in Studio
- You must create an account on the Twilio platform
- Purchase a Twilio Phone number for this task
First off, learn how to create studio flow
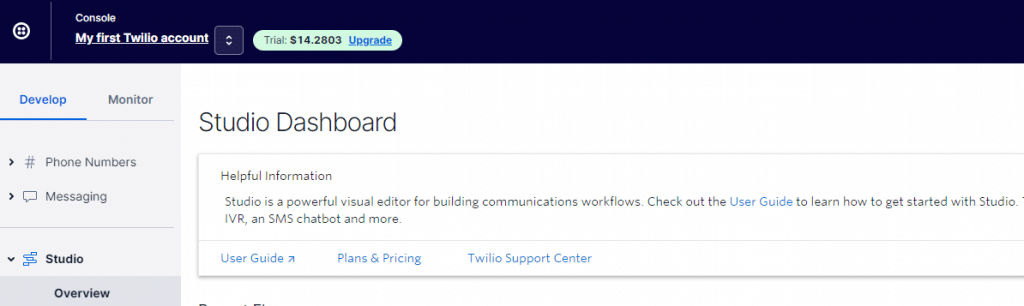
- Your first step is to visit Twilio Console and go to Studio Dashboard
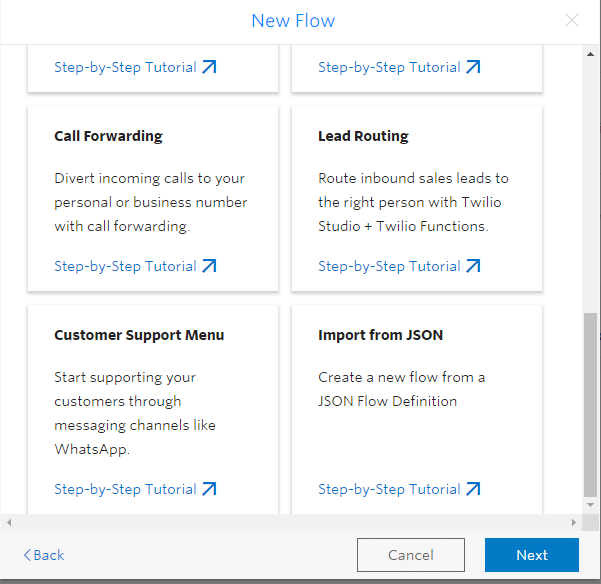
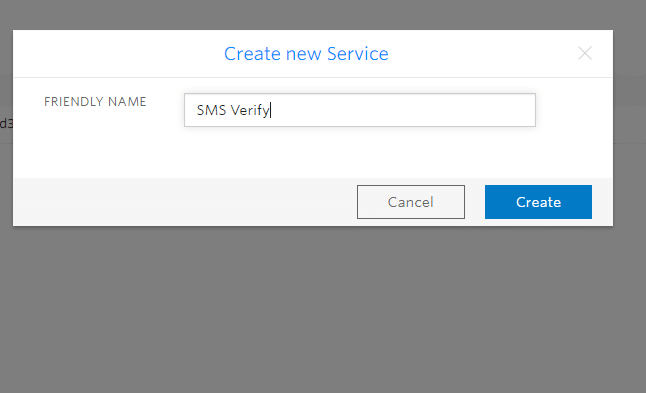
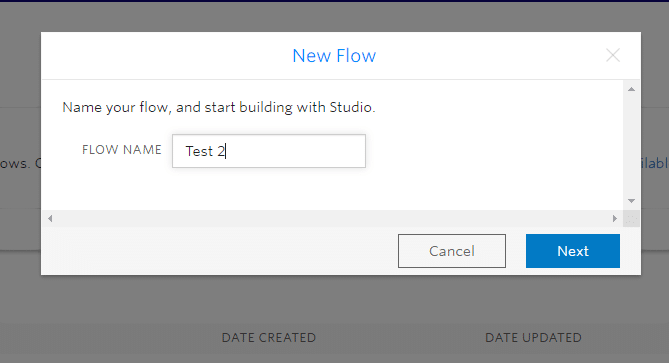
- Create and Name a New flow now

- Next is to select the option: Import from JSON. Click on Next
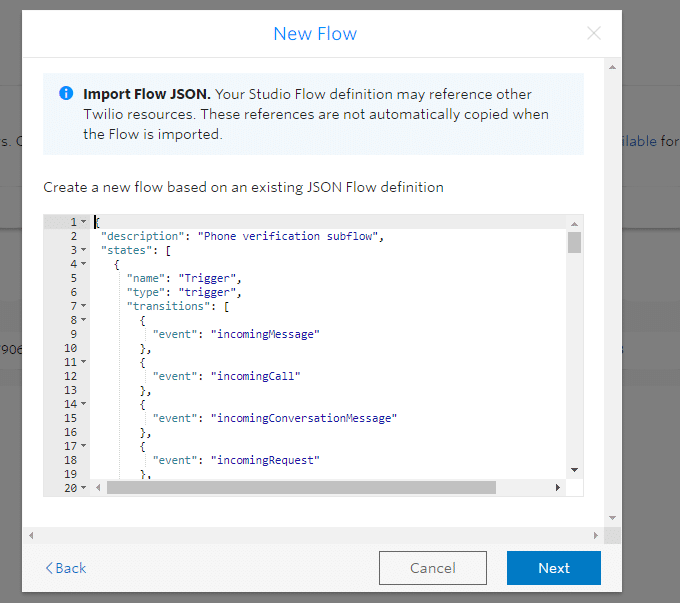
- Paste this JSON there: JSON Box. After you complete this process, tap on the Next button to proceed
- Studio Flow is created now
Learn the process of adding Twilio verify to Studio now
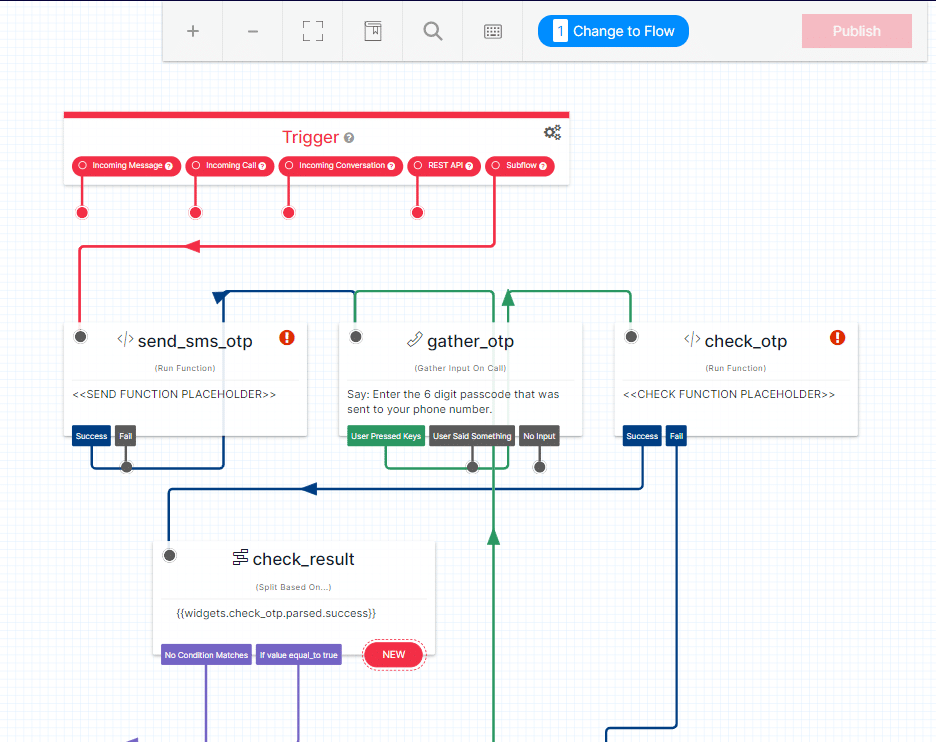
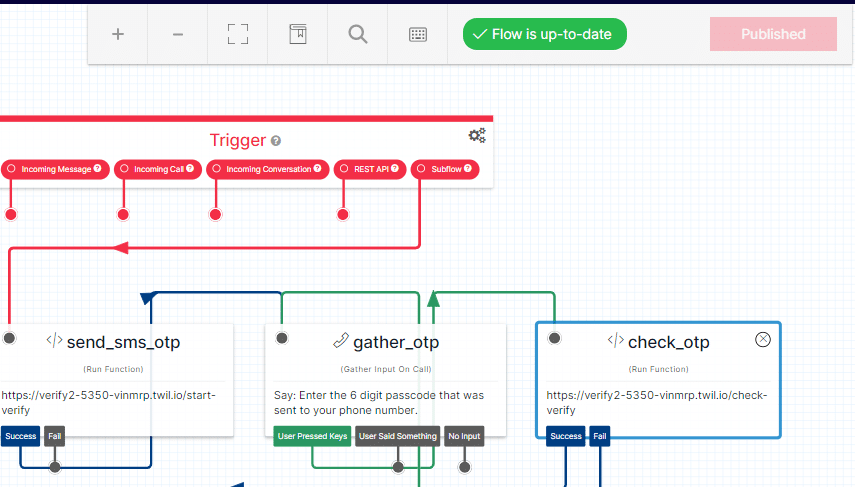
You can see both the widget “send_sms_otp” and “check_otp” have an error in the studio flow. So, our next task is to send and check an OTP. For this:
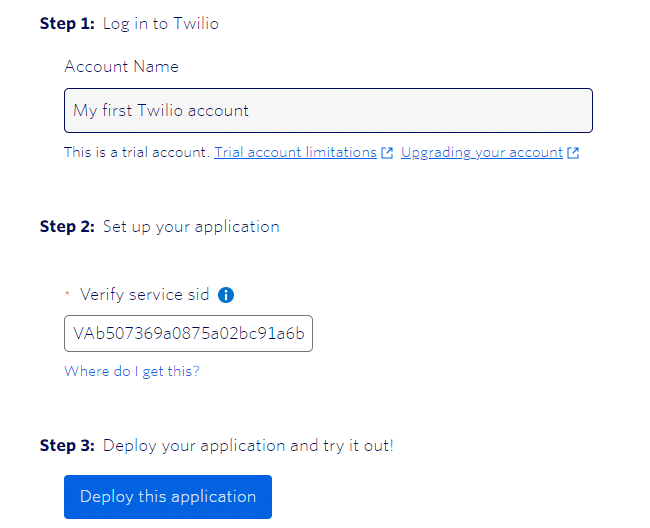
- We need to create a Verify service. A user needs to create it in the Twilio console. Go here: https://console.twilio.com/us1/develop/verify/services
- The next is to follow the instructions for One-time Passcode verification. You need to add the Verify service SID and deploy the application.
- Select the option “Go to Live application”. Here it will ask you to enter your contact number to send OTP.
- Go back to the studio flow again and select “send_sms_otp”.
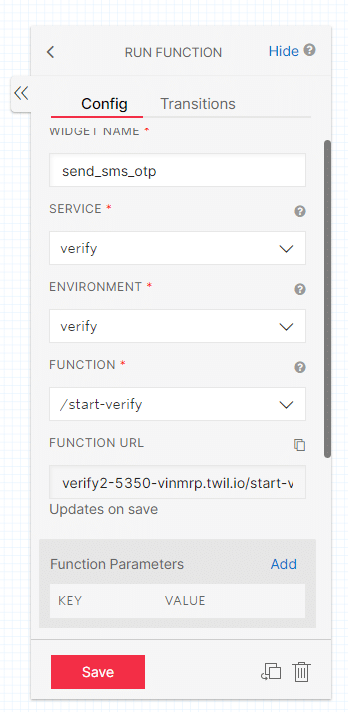
- Do the configuration now: Service=Verify, Environment=Verify, and Function=Start verify.
Note: It will update The Function URL
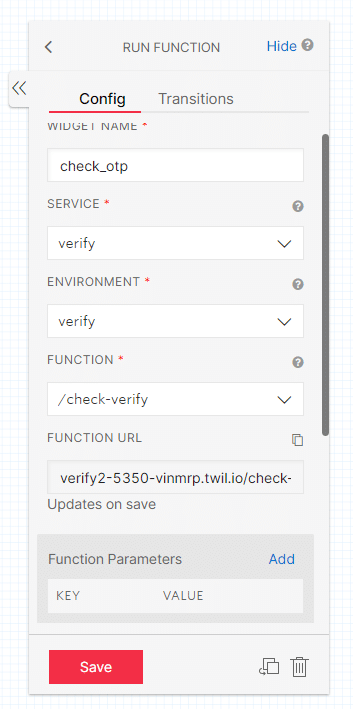
- Your next step is to select the widget “check_otp” and do a similar process of a configuration like above.
- Subflow is done now for SMS OTP verification. Just publish your subflow now.
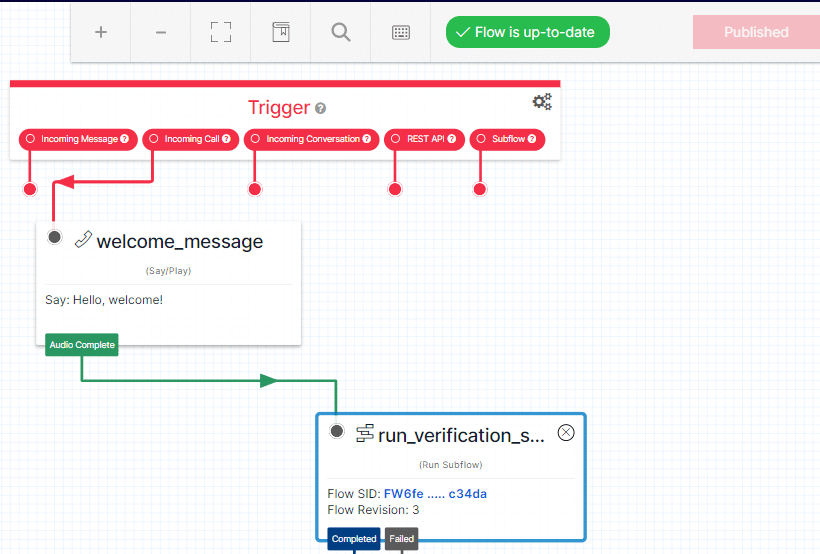
Create a Parent flow in the Twilio studio dashboard
- Either use the existing flow or create a new Twilio studio flow for this process. We are creating a new one here
- Go to option “Import your JSON” and add the JSON. After that click on Next to proceed further

- Select the widget “run_verification_s” and add the configuration there

- Publish your flow now
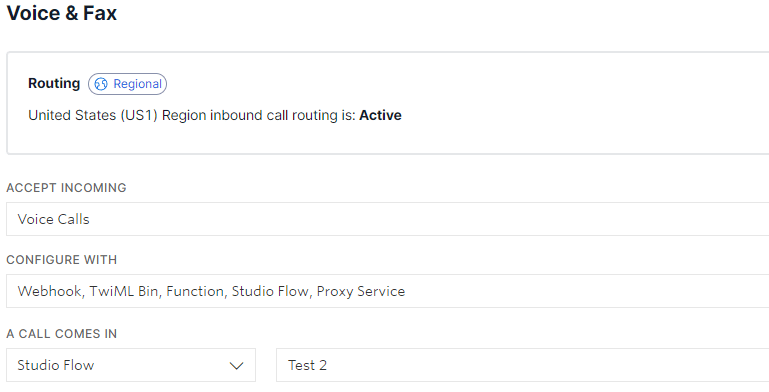
- Go to Phone number and select the number. Scroll down the Voice and Fax. Select your Parent flow
At last, call on your phone number. You will receive an OTP. Input it to hear the successful message.