


Introduction
In the increasingly complex world of technology and its advancement, IoT can be considered an innovative concept that is aimed at making ordinary things connected to the Internet for further use.
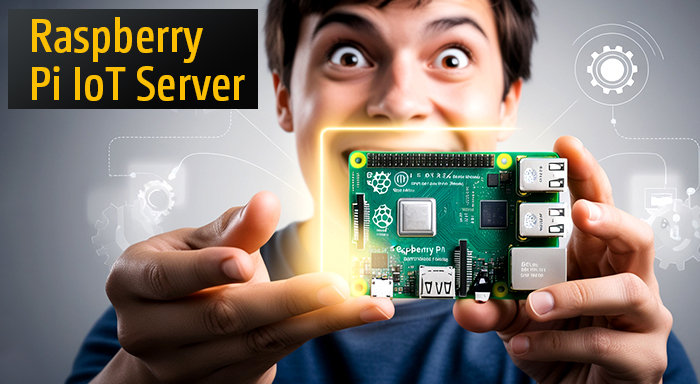
One of the foundations of most DIY IoT projects is a Raspberry Pi, a small inexpensive computer, which can be used in a variety of projects. This tiny device can be programmed to act as an IoT server, where information from a host of other IoT devices can be processed and managed.
This is a guide to IoT server setup by Raspberry Pi IoT server and a brief overview of benefits, and the most frequently asked questions.
Installing and Building an IoT Server using Raspberry Pi
The following are important steps to configure a Raspberry Pi IoT server. First, ensure you have the necessary hardware: These include; a Raspberry Pi board preferably the latest Raspberry Pi 4 model, a power supply, an SDC memory card preferably with adequate storage, and an active internet connection via Ethernet or Wi-Fi. Once these are in place, follow these steps:
1. Install the Operating System:
Begin with downloading and copying of the Raspberry Pi OS (Raspbian) onto a microSD card using Raspberry Pi Imager or Balena Etcher. The OS is light and comes with the capability of running server applications without any problem.
2. Secure Your Server:
If the PPB code is to be utilized, after installing it, secure the Raspberry Pi. Just as in any other operating system, you should ensure you change the default password, enable remote management using SSH, as well as possibly set up firewalls for further security protection for your system.
3. Install MQTT or HTTP Server:
For the latter, MQTT (Message Queueing Telemetry Transport) is favored for IoT applications because of its low overhead. Deploys an MQTT broker software such as the Mosquito. Instead of this and in case you prefer, you can use Node.js or Python Flask to run an HTTP server for web request processing.
4. Connect IoT Devices:
After that, manage your IoT devices to send the collected data to the server where it is already running. This can be done using MQTT clients or HTTP requests, depending on your setup.
5. Data Processing and Visualization:
Utilize IoT data visualization tools or even plugins such as Node-RED to analyze or visualize data. It provides a much simpler way of getting devices and services to connect.
The advantages of considering Raspberry Pi IoT server.
1. Cost-Effectiveness:
Raspberry Pi boards are generally cheap with the basic board going for a low price making it easy to implement in IoT projects without having to break a bank.
2. Flexibility:
The ability to be used on different OS and programming languages such as Python, Java, and C++ make it suitable for different IoT cases.
3. Community and Support:
A large number of enthusiasts and developers are associated with the use of Raspberry Pi and there are advanced materials, instructions, and forums where people can find solutions to the problems encountered.
4. Low Power Consumption:
The design of Raspberry Pi is very effective in terms of power consumption which can support long IoT projects.
5. Scalability:
One of the benefits of the Raspberry Pi is that it can establish and operate numerous devices, expanding IoT systems when necessary.
Conclusion
The process of making a Raspberry Pi IoT server is an effective and easy approach to network IoT systems. It simplifies IoT to help hobbyists and professionals alike bring their creative potential to fruition and make amazing IoT ideas come to life. Innovations make the usage of Raspberry Pi in IoT projects more and more useful in the future.
FAQs for Raspberry Pi IoT Server
1. Is it possible for Raspberry Pi to control multiple IoT devices?
Yes, a Raspberry Pi, perhaps more so the newer versions primarily the Raspberry Pi 4 series is capable of handling several IoT devices. Its capacity depends on the density of the IoT sensor data and computer as well as the total number of connected devices.
2. Do I require a fan for my Raspberry Pi IoT server?
Although many IoT applications can be run on the Raspberry Pi without the need for additional cooling it is recommended to use a heat sink or fan for power-intensive tasks or if the unit will be in an environment with a higher ambient temperature.
3. Is Raspberry Pi suitable for industrial IoT applications?
While Raspberry Pi is excellent for learning and prototyping, for industrial-grade applications requiring robust performance under challenging conditions, more specialized hardware may be necessary. However, the Pi can certainly be used for small or non-critical industrial applications.
4. How do I update my Raspberry Pi IoT server?
Regularly update your Raspberry Pi by running system updates via the terminal with `sudo apt update` and `sudo apt upgrade`. Keeping the software updated ensures security and performance improvements.
5. Can I run other services on a Raspberry Pi IoT server?
Absolutely. Raspberry Pi can run a variety of services, including web servers, databases, and more. However, it’s essential to monitor resource usage to avoid overloading the system and maintain efficiency.
Related Reads
Access Control of IoT Devices: Ensuring Security & Efficiency
IoT Data Visualization | Understand the Power of Connected IoT Devices